How to Sew Pointe Shoes, Step-by-Step
So you’ve been approved for pointe work and have just bought your first pair of pointe shoes. Congratulations! You’re living every tiny ballerina’s dream, except for one problem… they don’t stay on your feet! You quickly discovered that pointe shoes are pretty much useless without the ribbons and elastics attached. But lucky for you, learning how to sew pointe shoes is pretty straightforward, even if you’ve never sewn before!
What you need
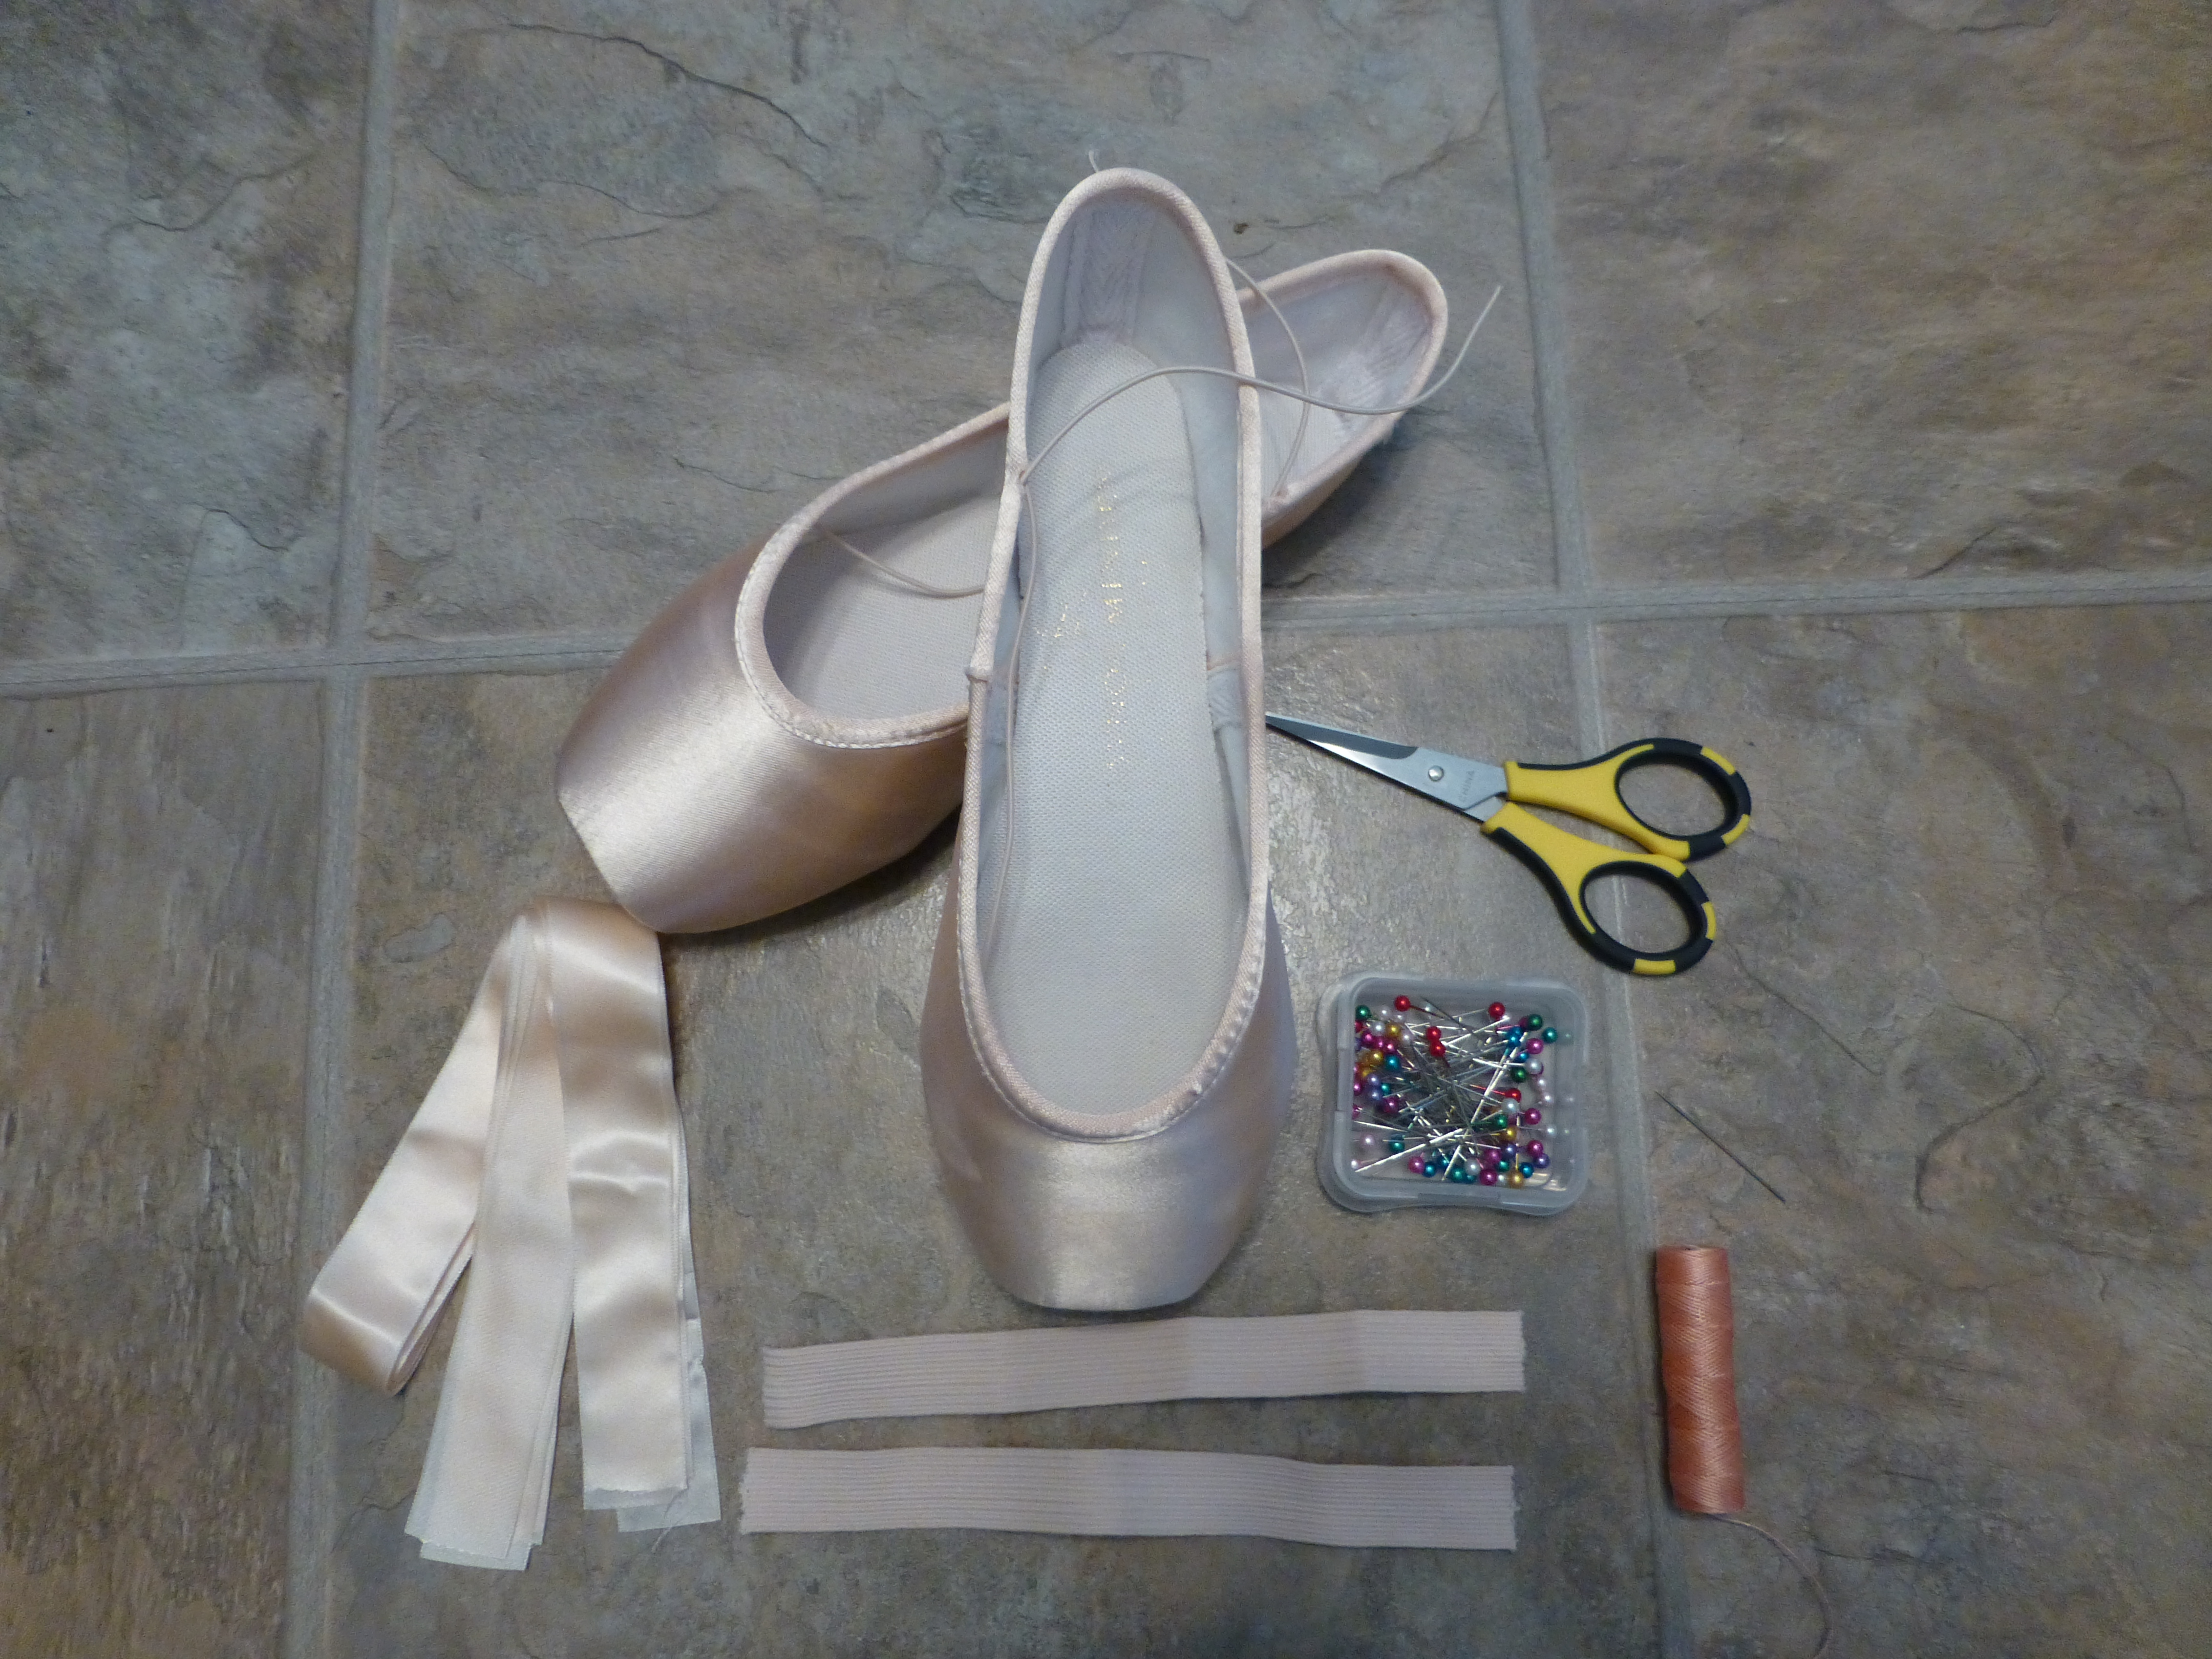
- Your pointe shoes
- A pack of pointe shoe ribbons
- A pack of 3/4 inch elastic
- Sewing needle
- Thimble (optional)
- Scissors (sewing or craft scissors work best)
- Straight pins
You may have seen advertisements for a product called “pointe snaps,” which can quickly attach your ribbons and elastic without sewing. I’ve never used them personally, but you don’t have to have tried them to know that they look incredibly tacky. The time-saving aspect might make them tempting, but nothing screams “fake” and “cheap” like pointe snaps. People in the ballet world tend to be proud and traditional, so if you walk in there with some quick-fix gadget on your shoes, you’ll be silently judged at best and harshly told to go get a “real” pair of shoes at worst.
Threading the Needle
For Thick Thread
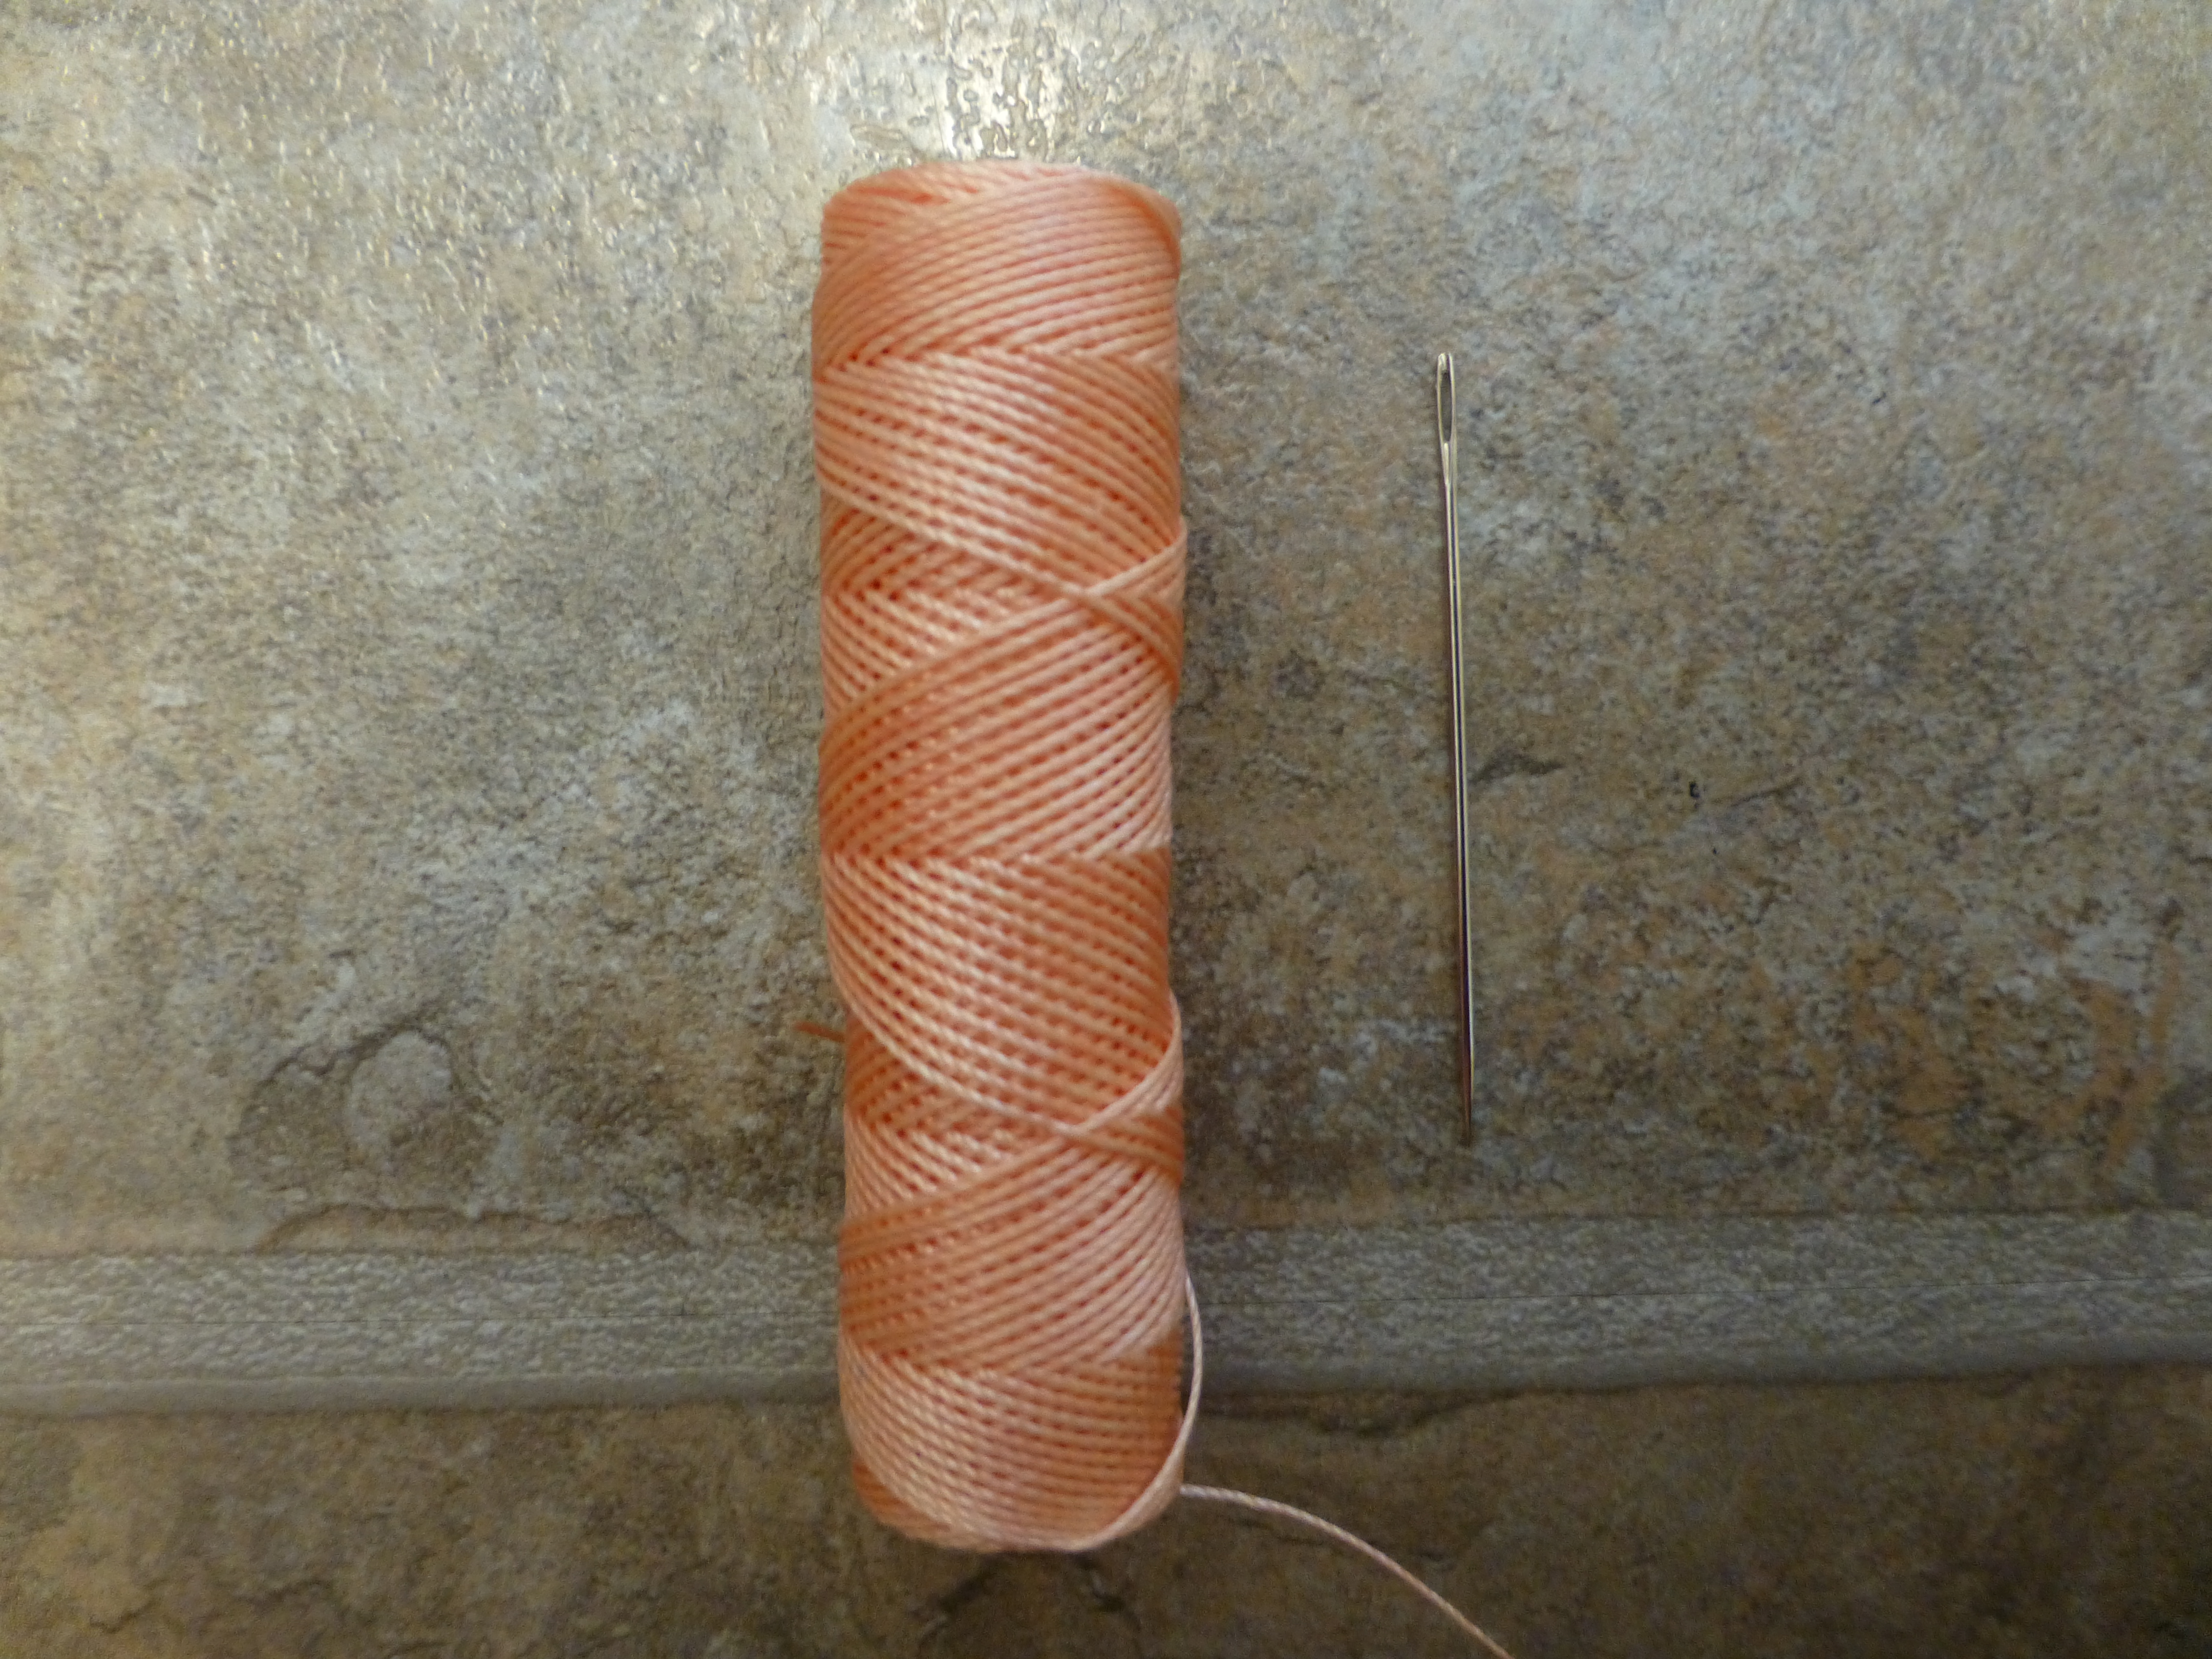
I like to use this nice, thick pointe shoe thread from Bunheads’ Pointe Shoe Sewing Kit, which is completely durable and a little sticky so it doesn’t slide. Some people use dental floss for the same effect.
First, cut a length of thread about as long as your arm. Then make a knot at one end. Finally, take the other end and slide it through the eye of the needle, leaving enough of a tail that it won’t slip out.

For Thin Thread
If you’re using thin sewing machine thread, you’ll want to double it over. Remember that this thread is going to be tugged on constantly as the ribbons and elastic hug the shoe to the dancing foot. It needs to be able to withstand pressure without breaking.
Cut a length of thread about two times the length of your arm. Thread one end through the eye of the needle without tying a knot. (You might need to lick the end of the thread to get it to go through better.)
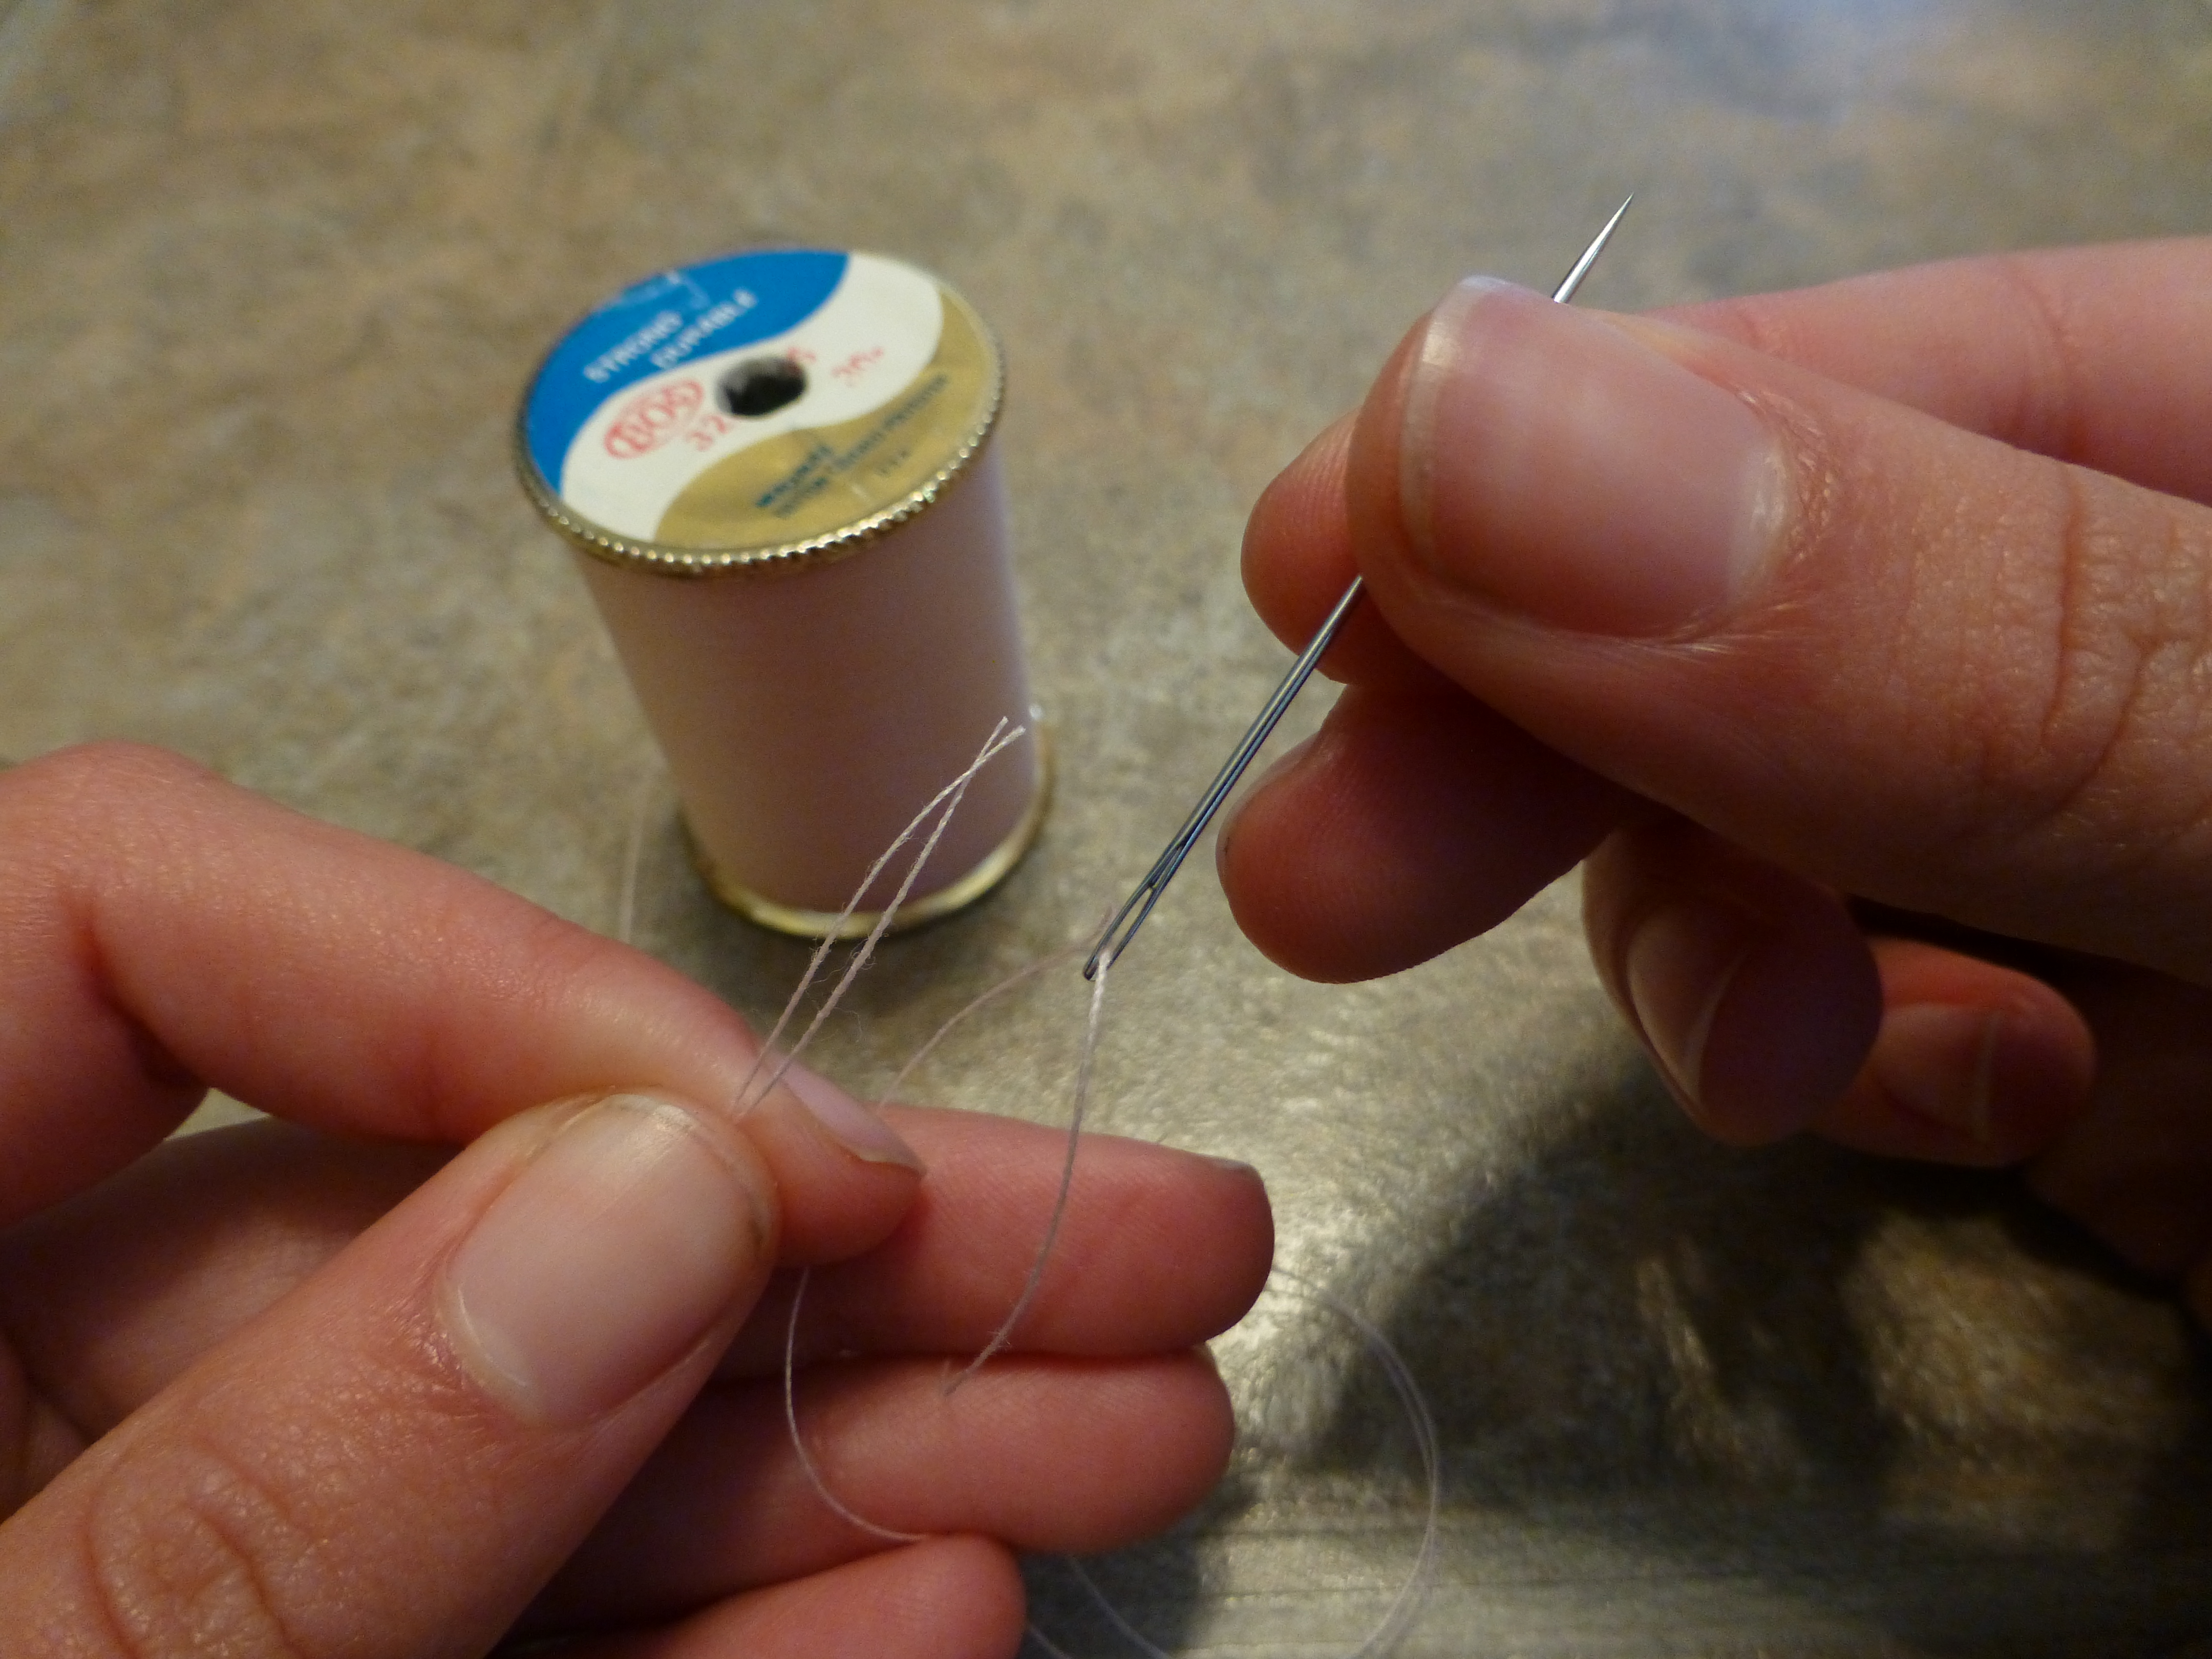
Pull the two ends together so that the needle is at the halfway point. Then put the ends together and tie a double or triple knot, without separating the two strands.

Elastic
Pointe shoe elastics can be sewn in a criss-cross or a loop shape, with the ends on the inside or the outside of the shoe, as shown below. This is a detail your studio might have requirements about, so remember to check before you start sewing.
Cut the Elastic
Cut your elastic in half, leaving two pieces about 8 inches long.

Place and Pin
Some people sew their elastics on the inside, some on the outside. I show the placement for both versions below, but for the sewing section I have mine on the inside.
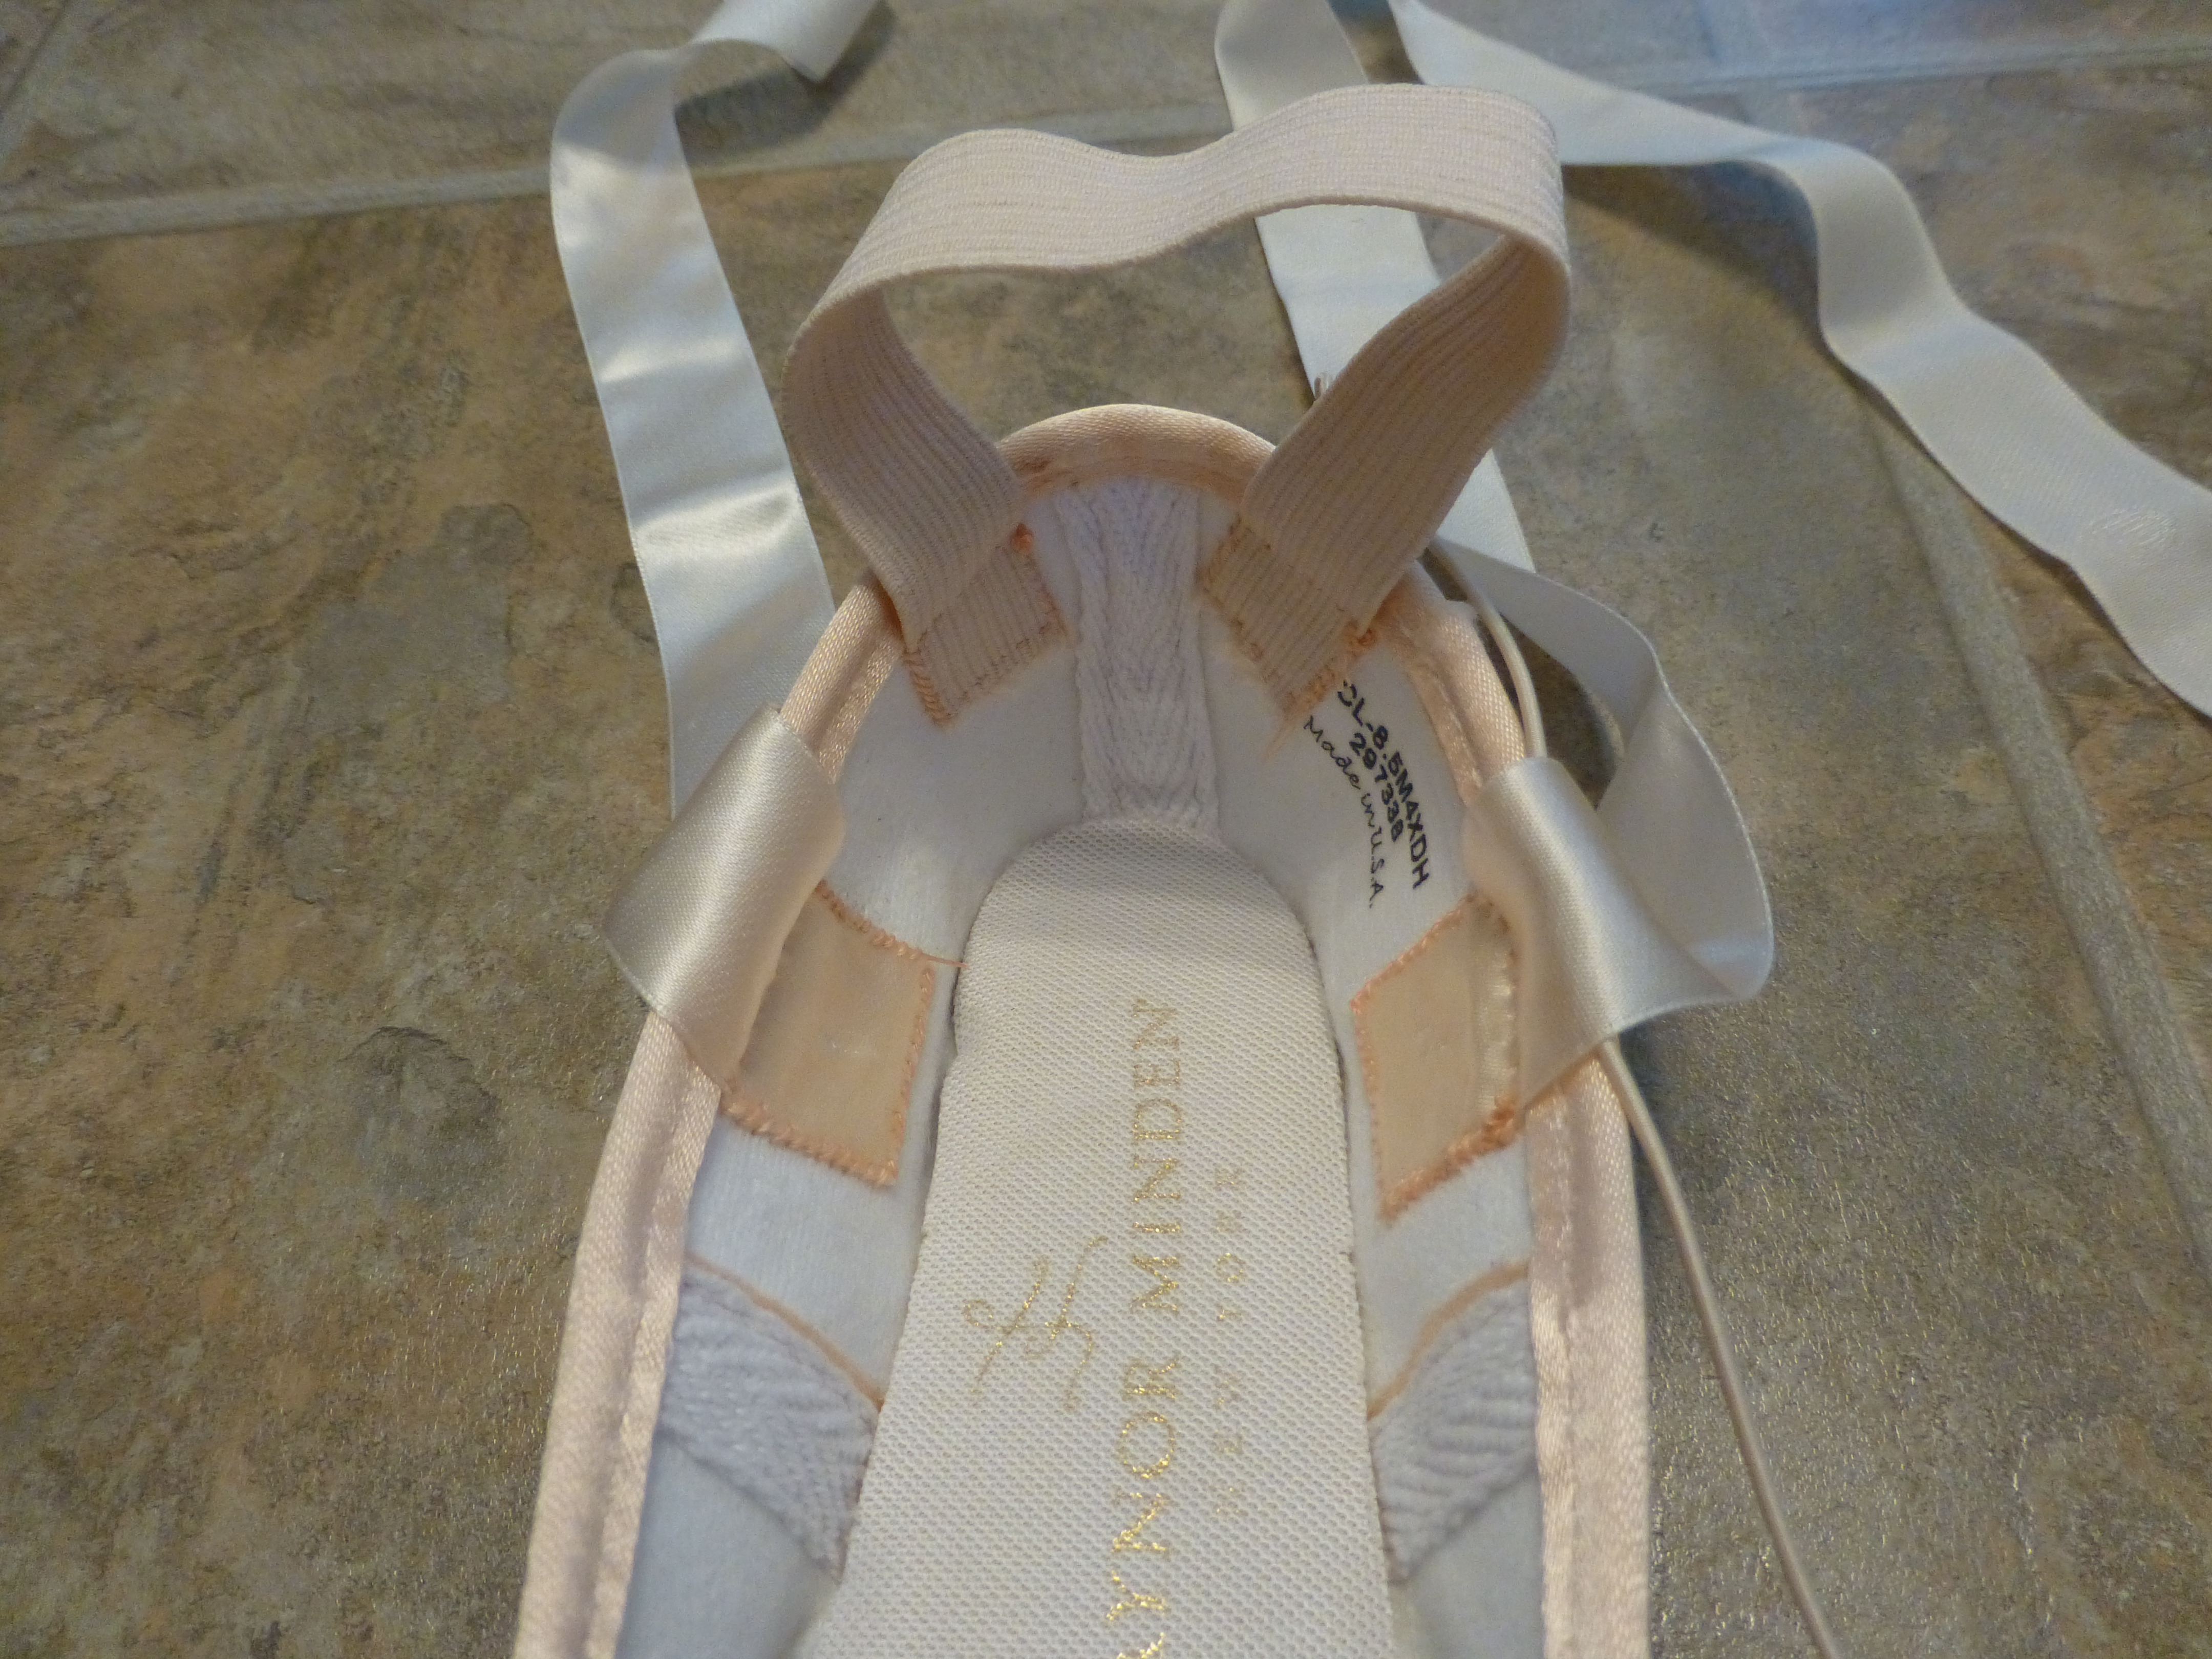
Put the end of one elastic neat the back seam of the shoe, angled slightly outward. Leave about an inch of elastic below the top band. People vary in their preferences for how angled and how close to the seam to put their elastic. The more pairs of shoes you go through, the more you’ll know how you like yours. For your first pair, copying the picture is a good place to start. Place a straight pin through both the elastic and the shoe to hold it in place.
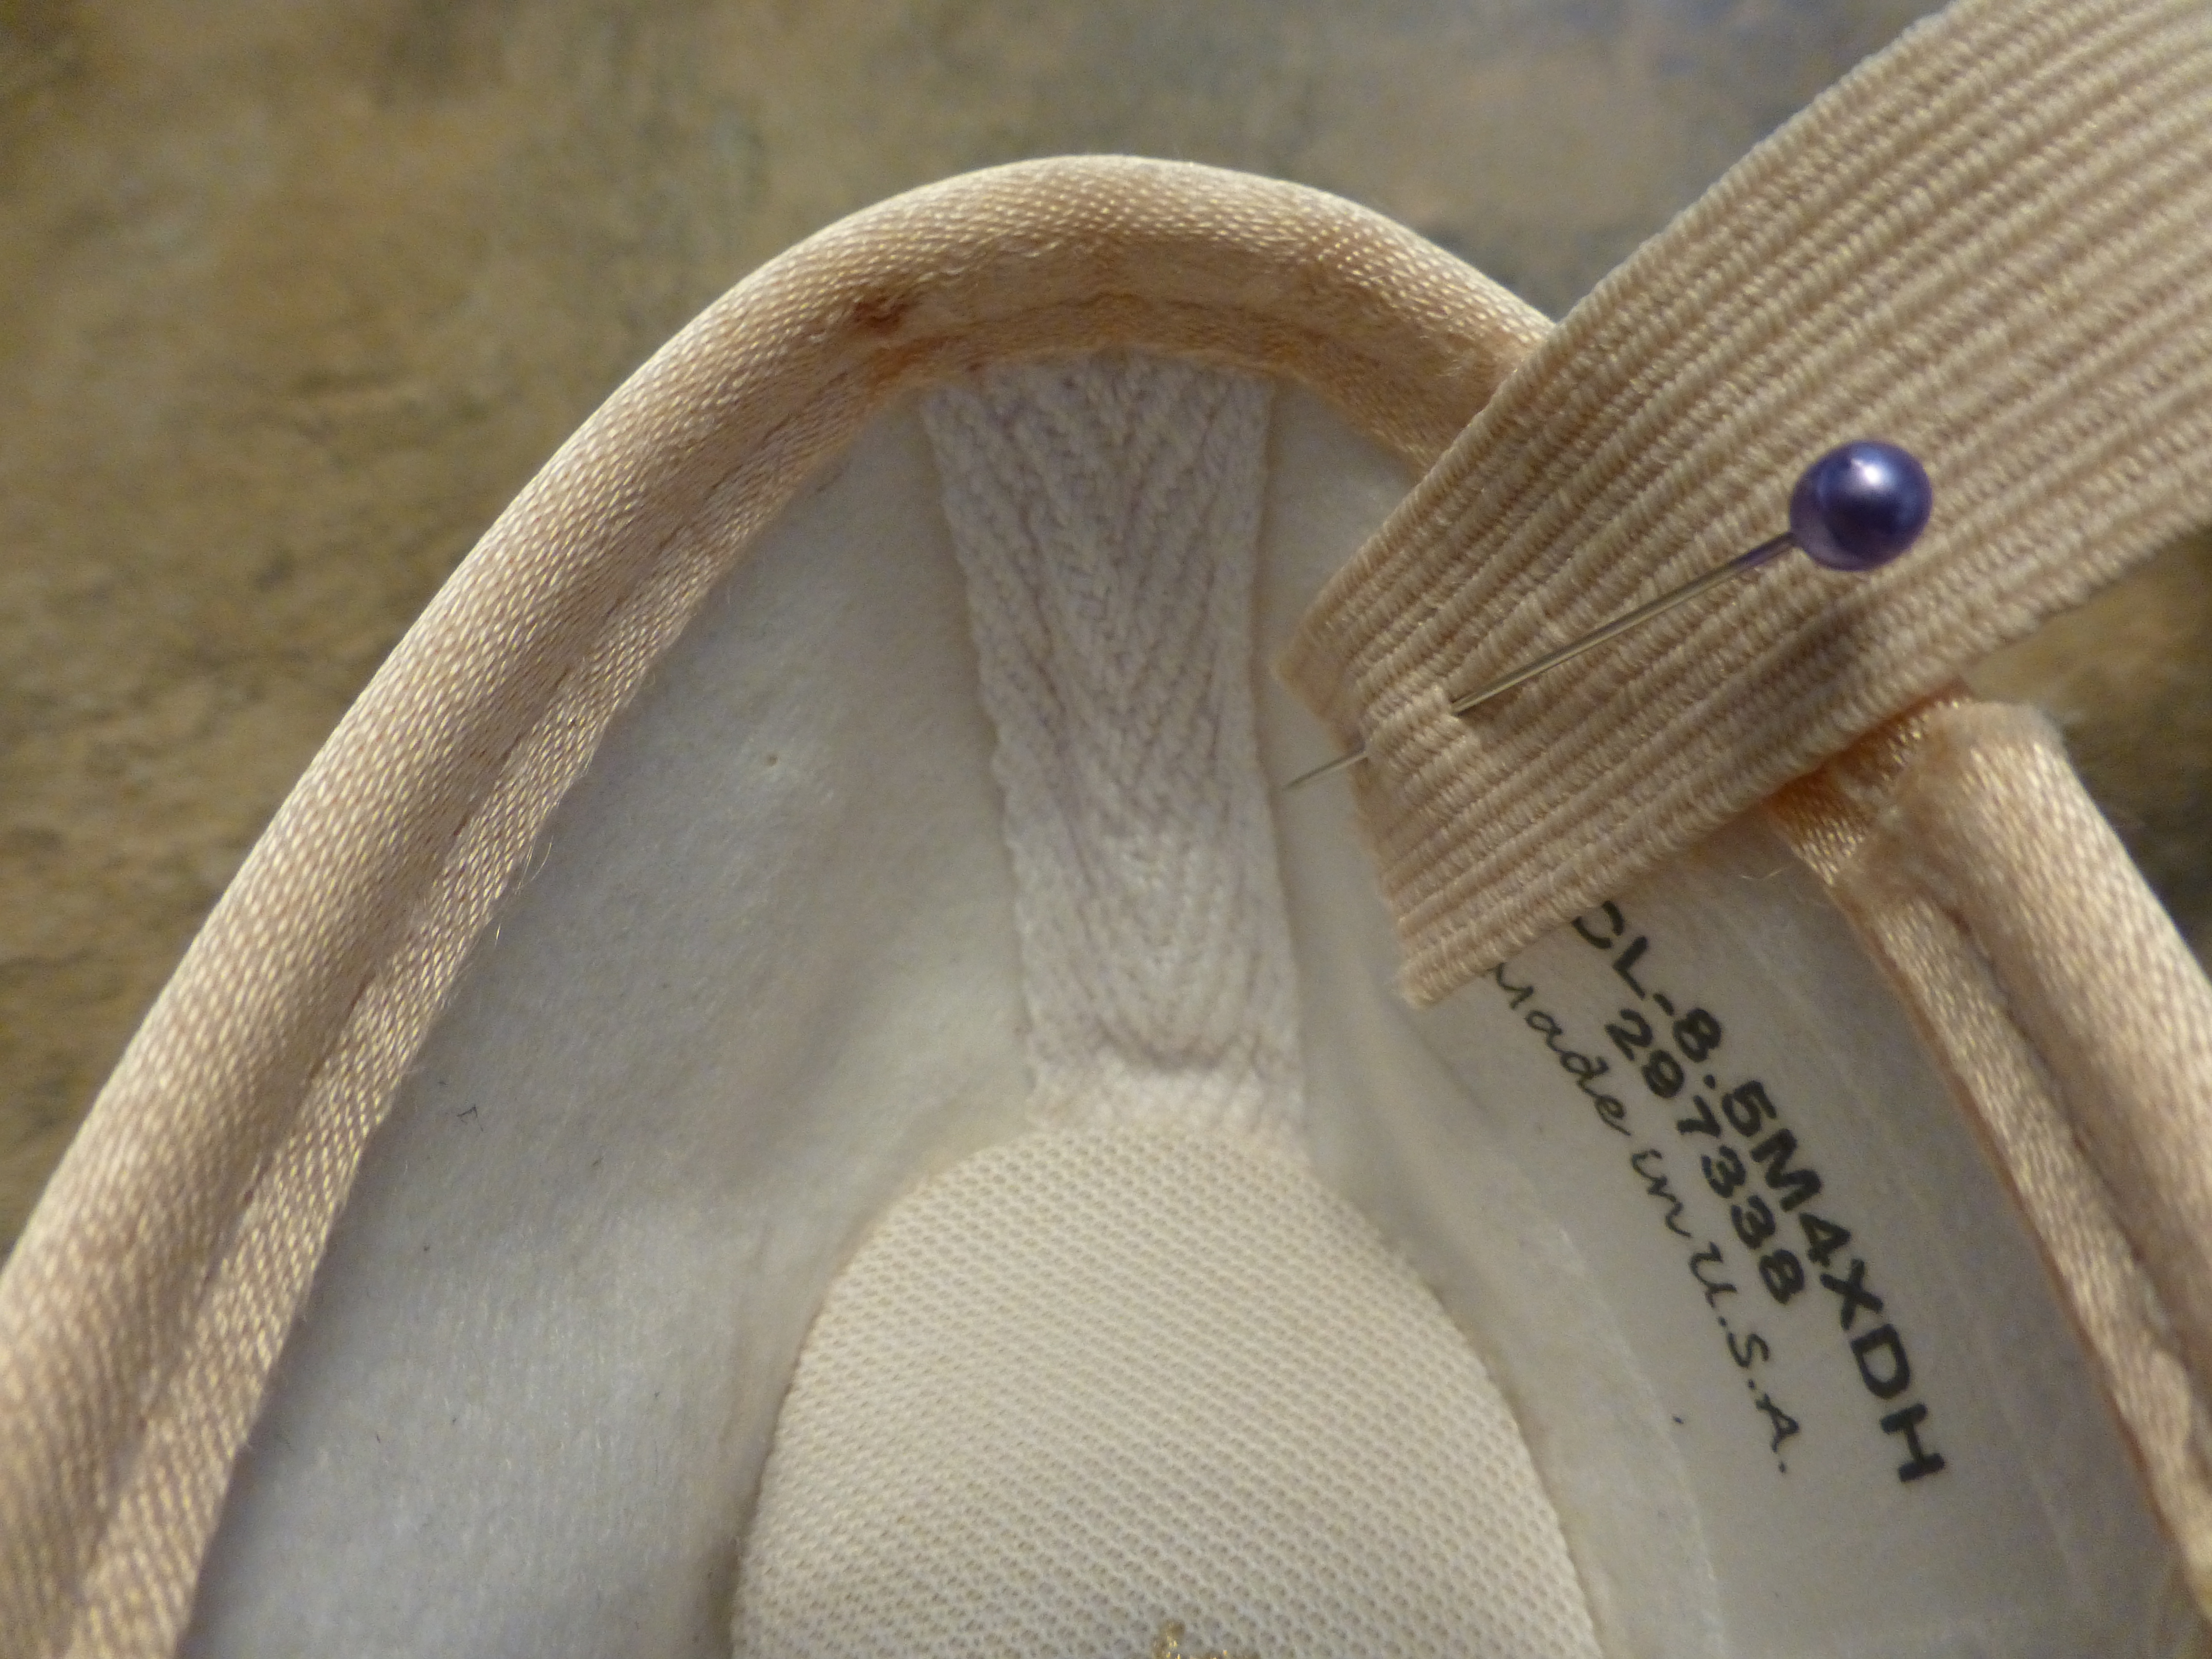

Next, put your foot in the shoe and stretch the elastic around to its next other point of attachment. If it has to be uncomfortably tight in order to reach, adjust the first end so that less of the elastic is below the top band. If it’s too loose, trim the elastic accordingly. Ideally, the it should feel snug, but not constricting, and have approximately an inch of elastic below the band on each side.
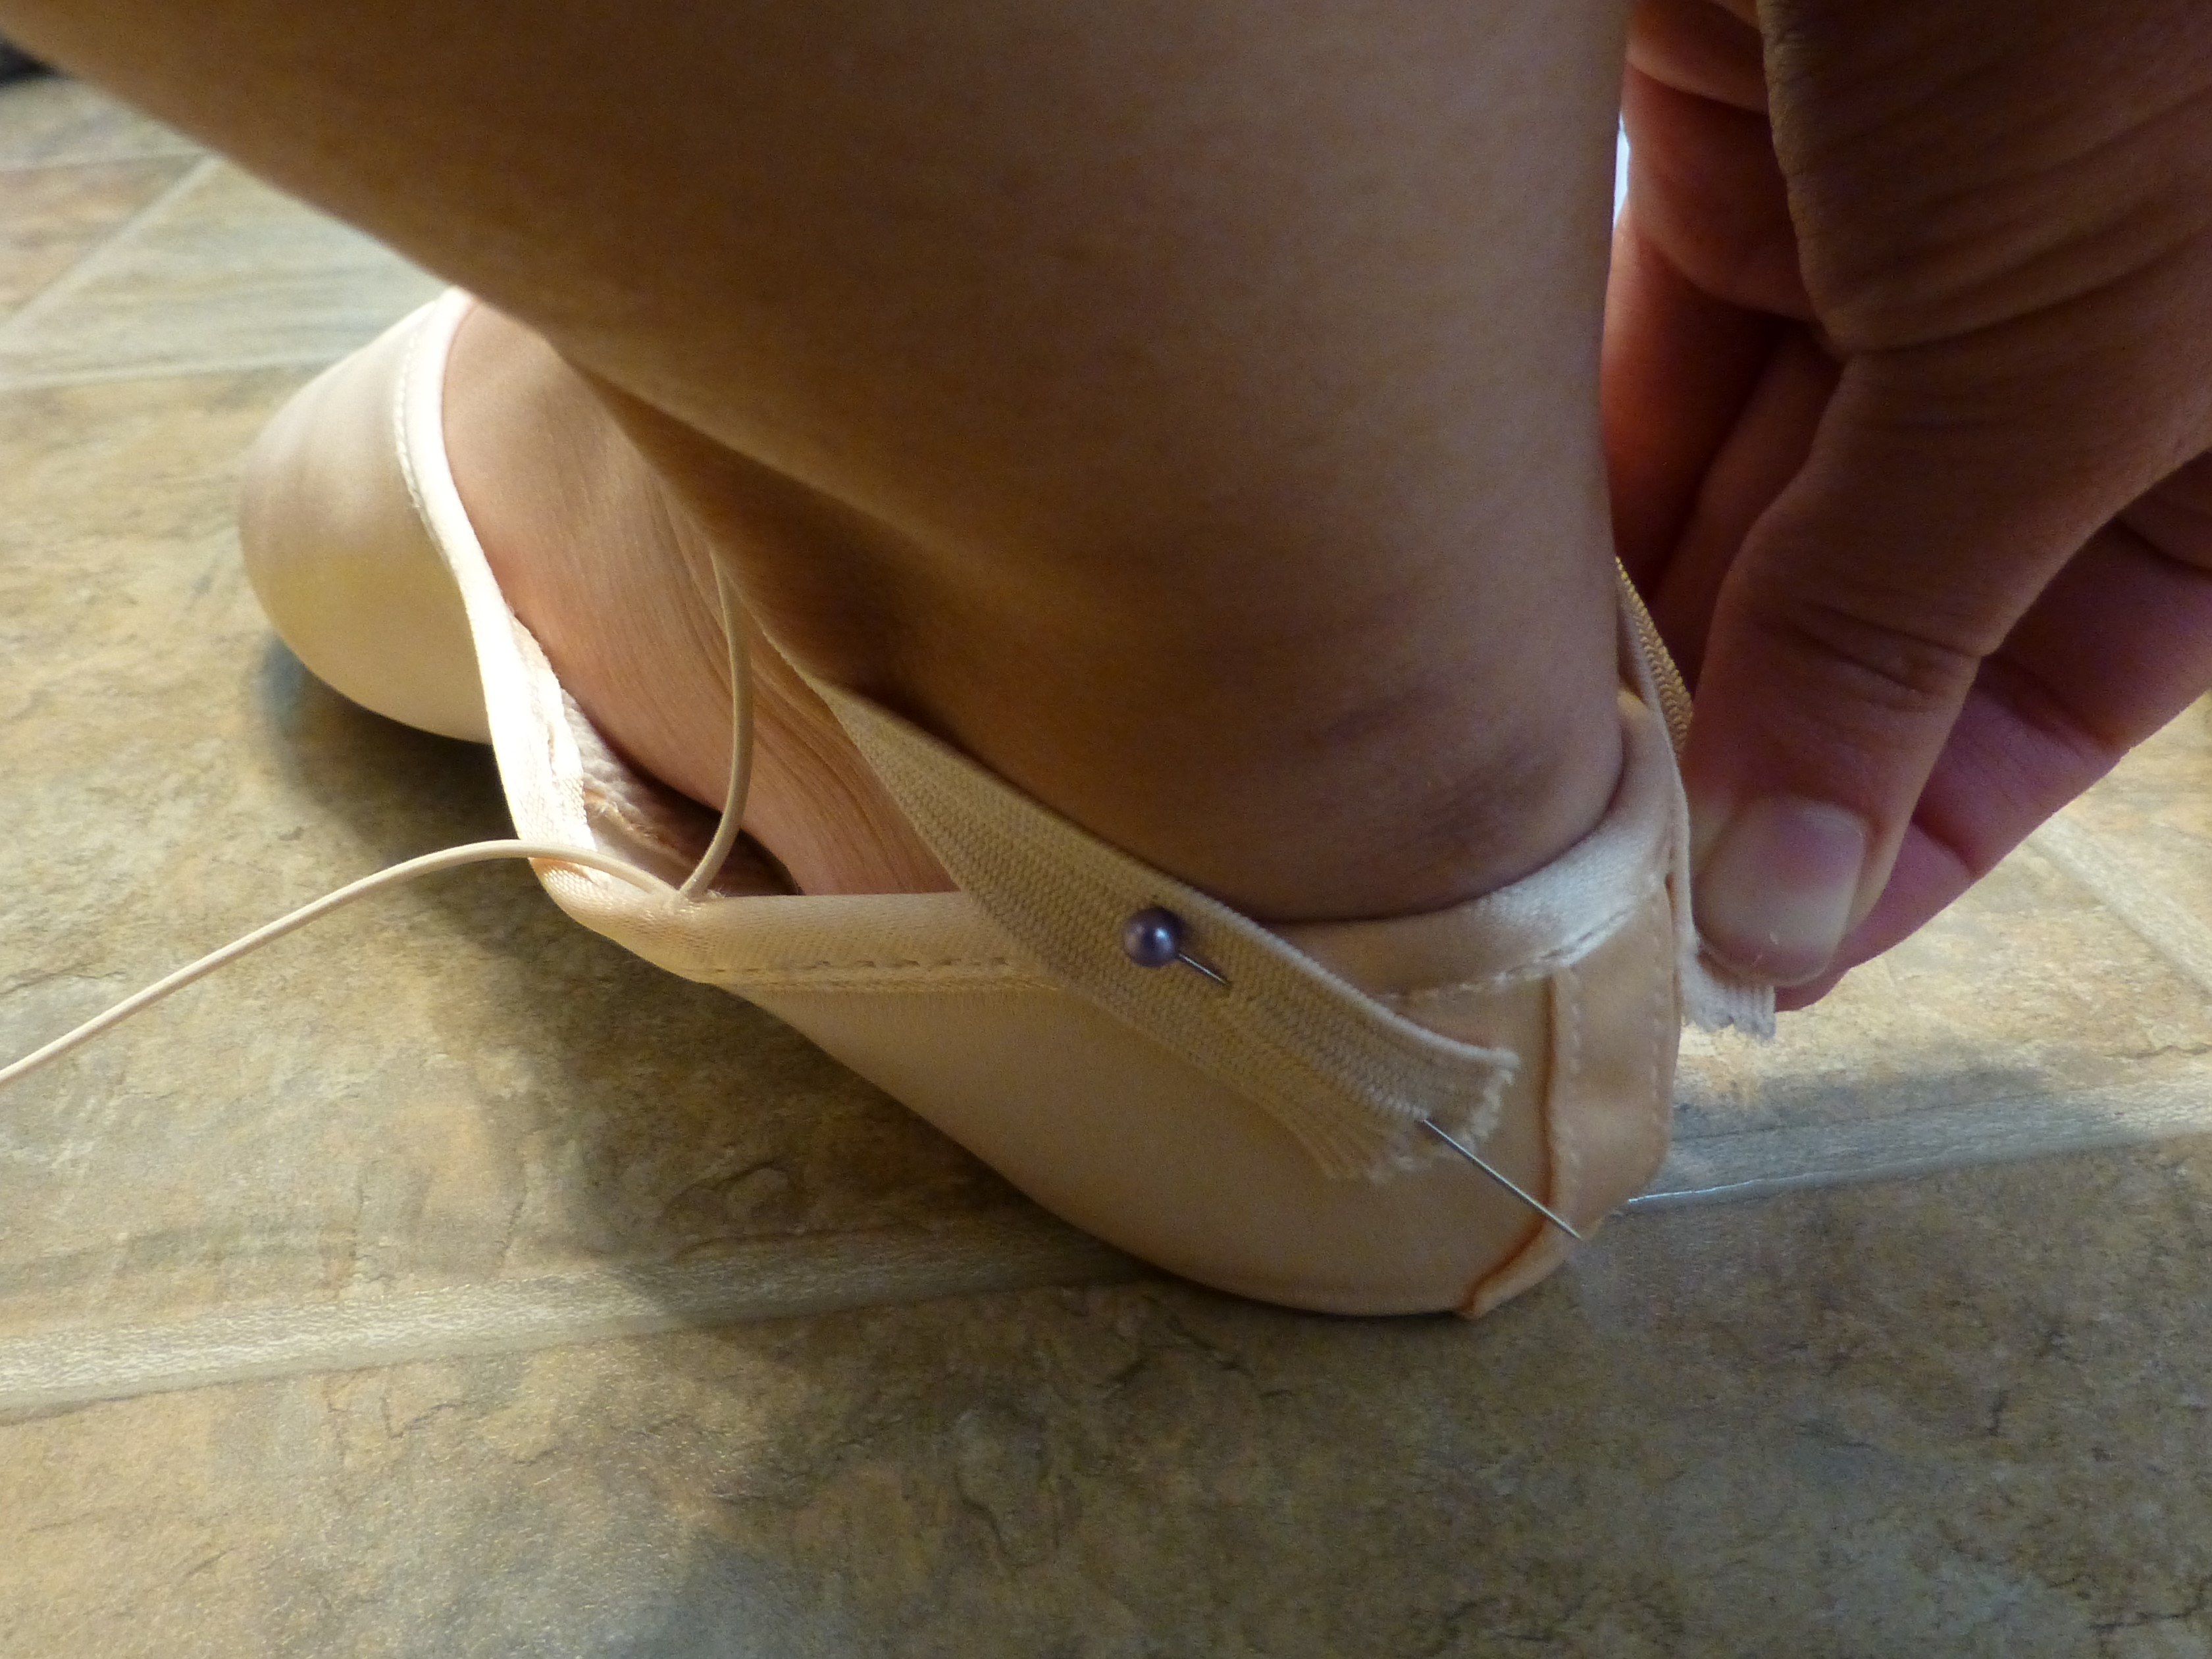
Final placement for the elastic loop:
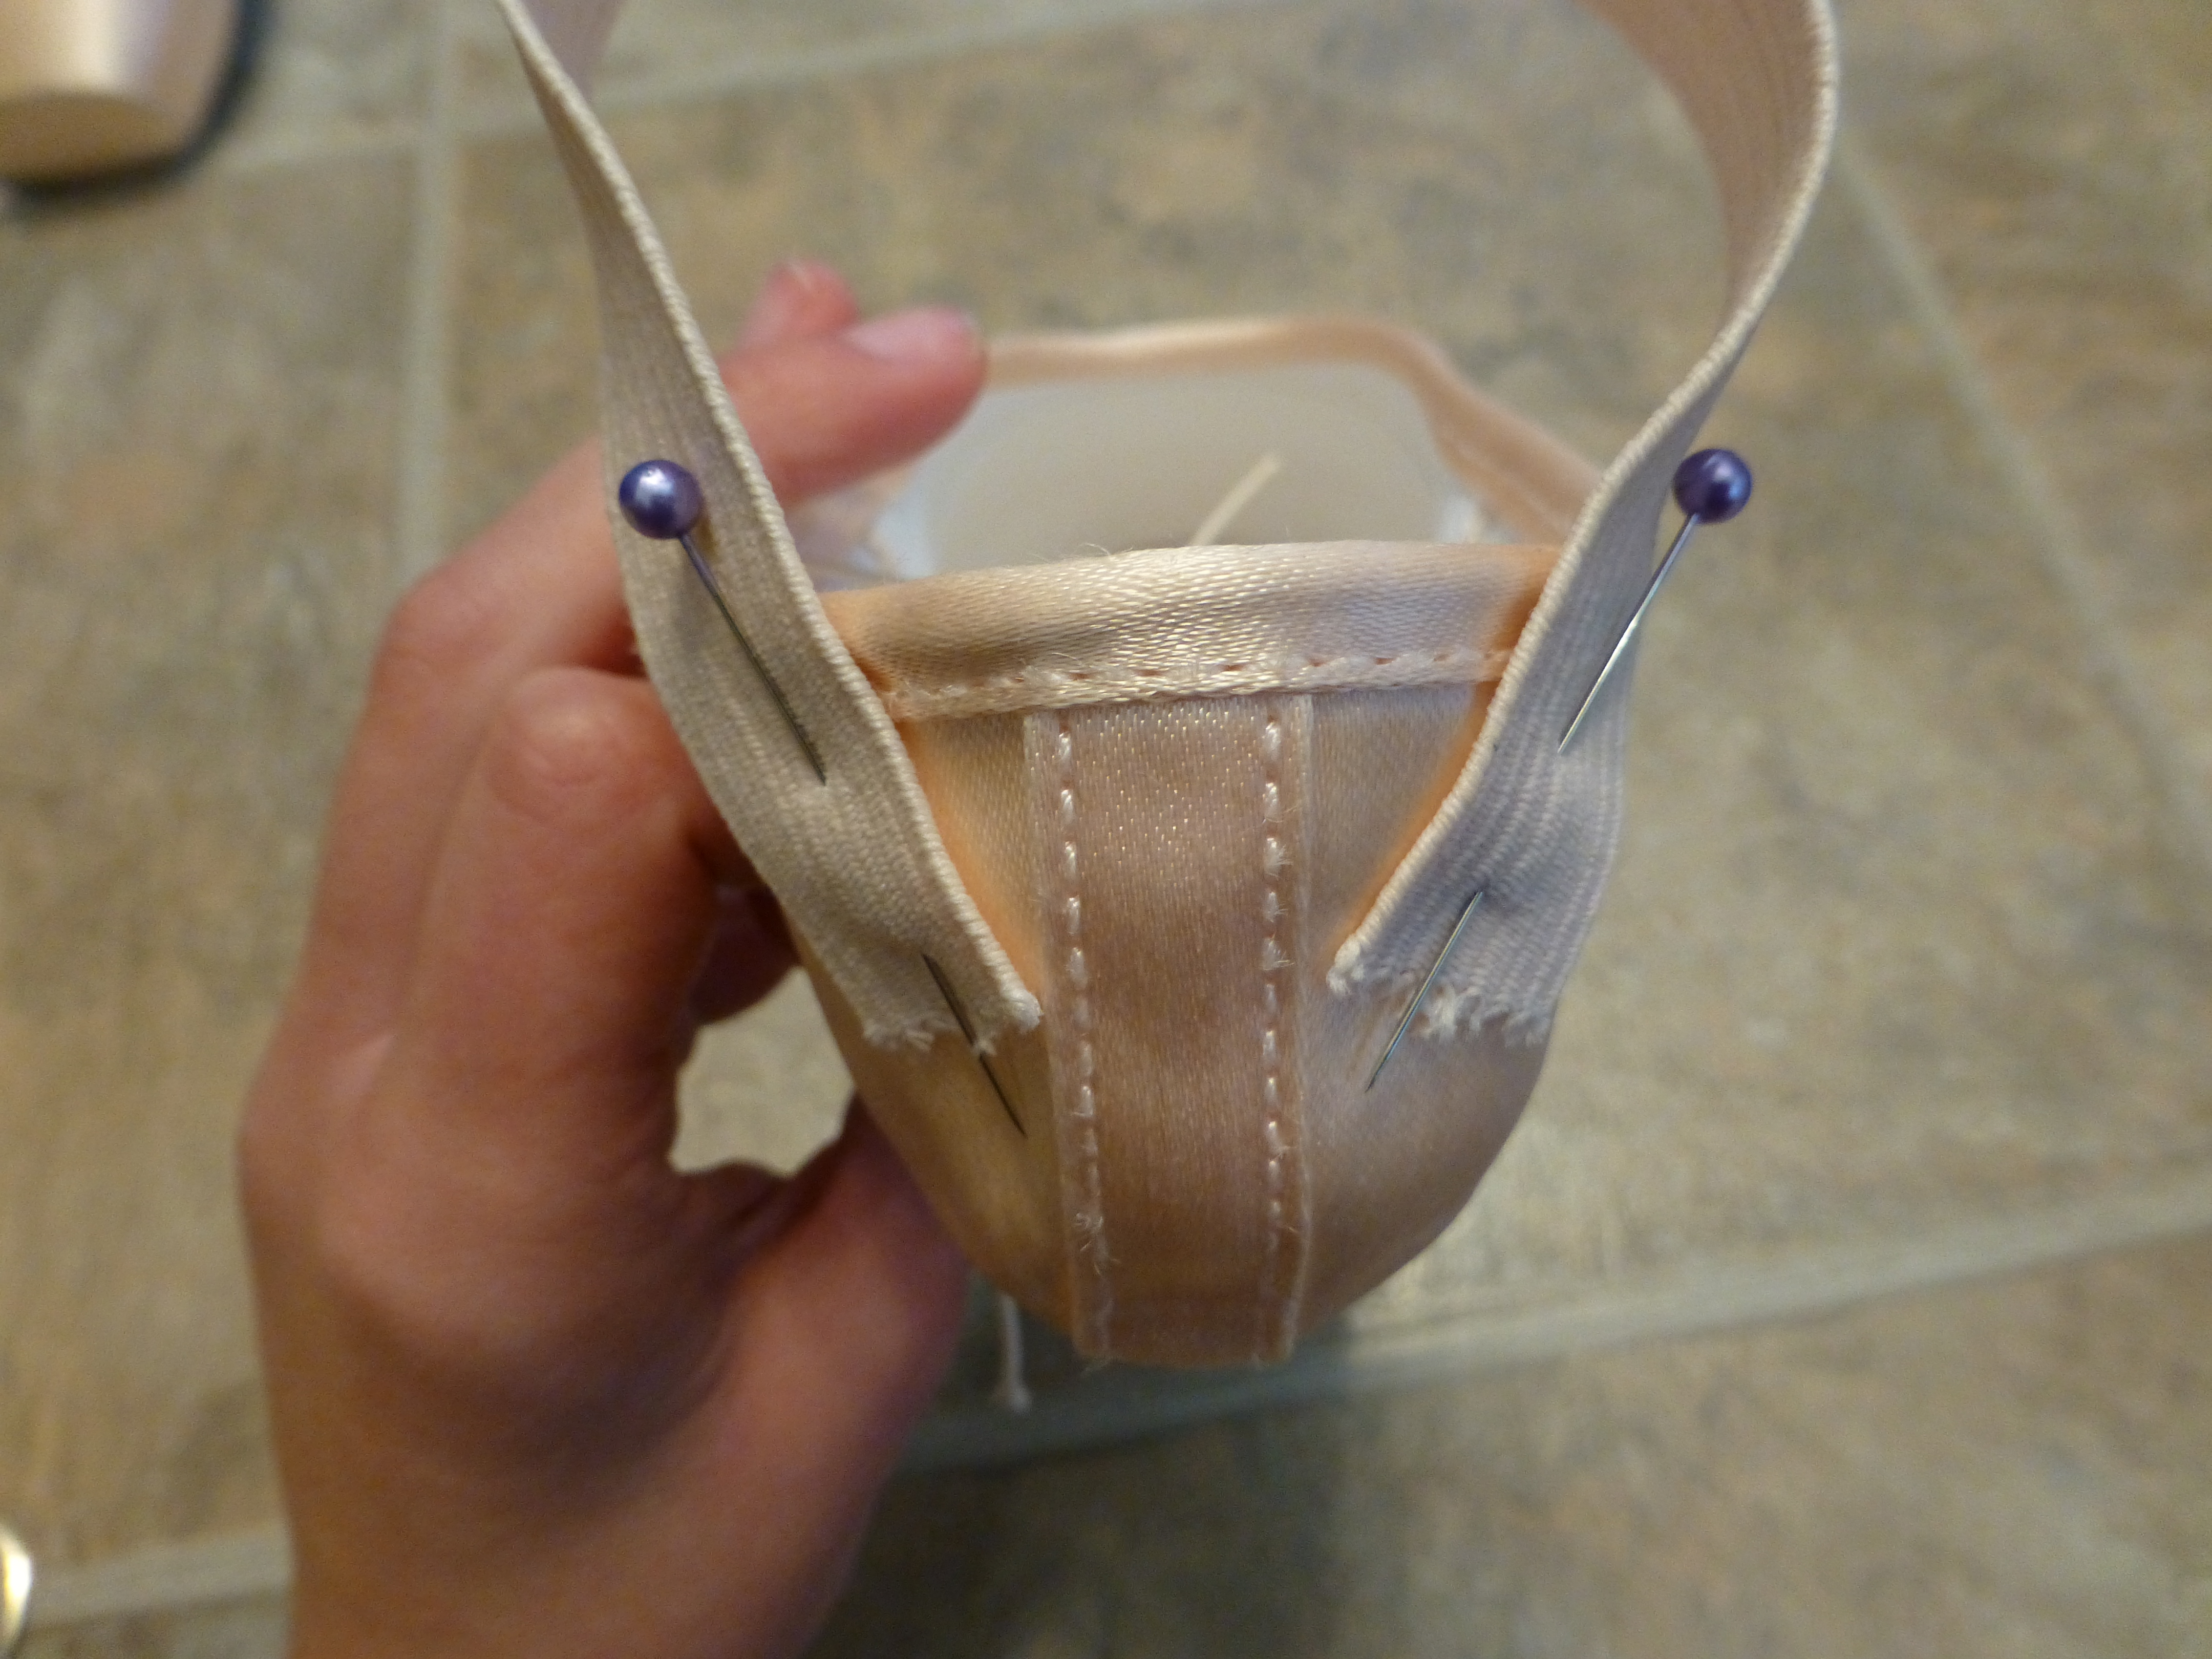
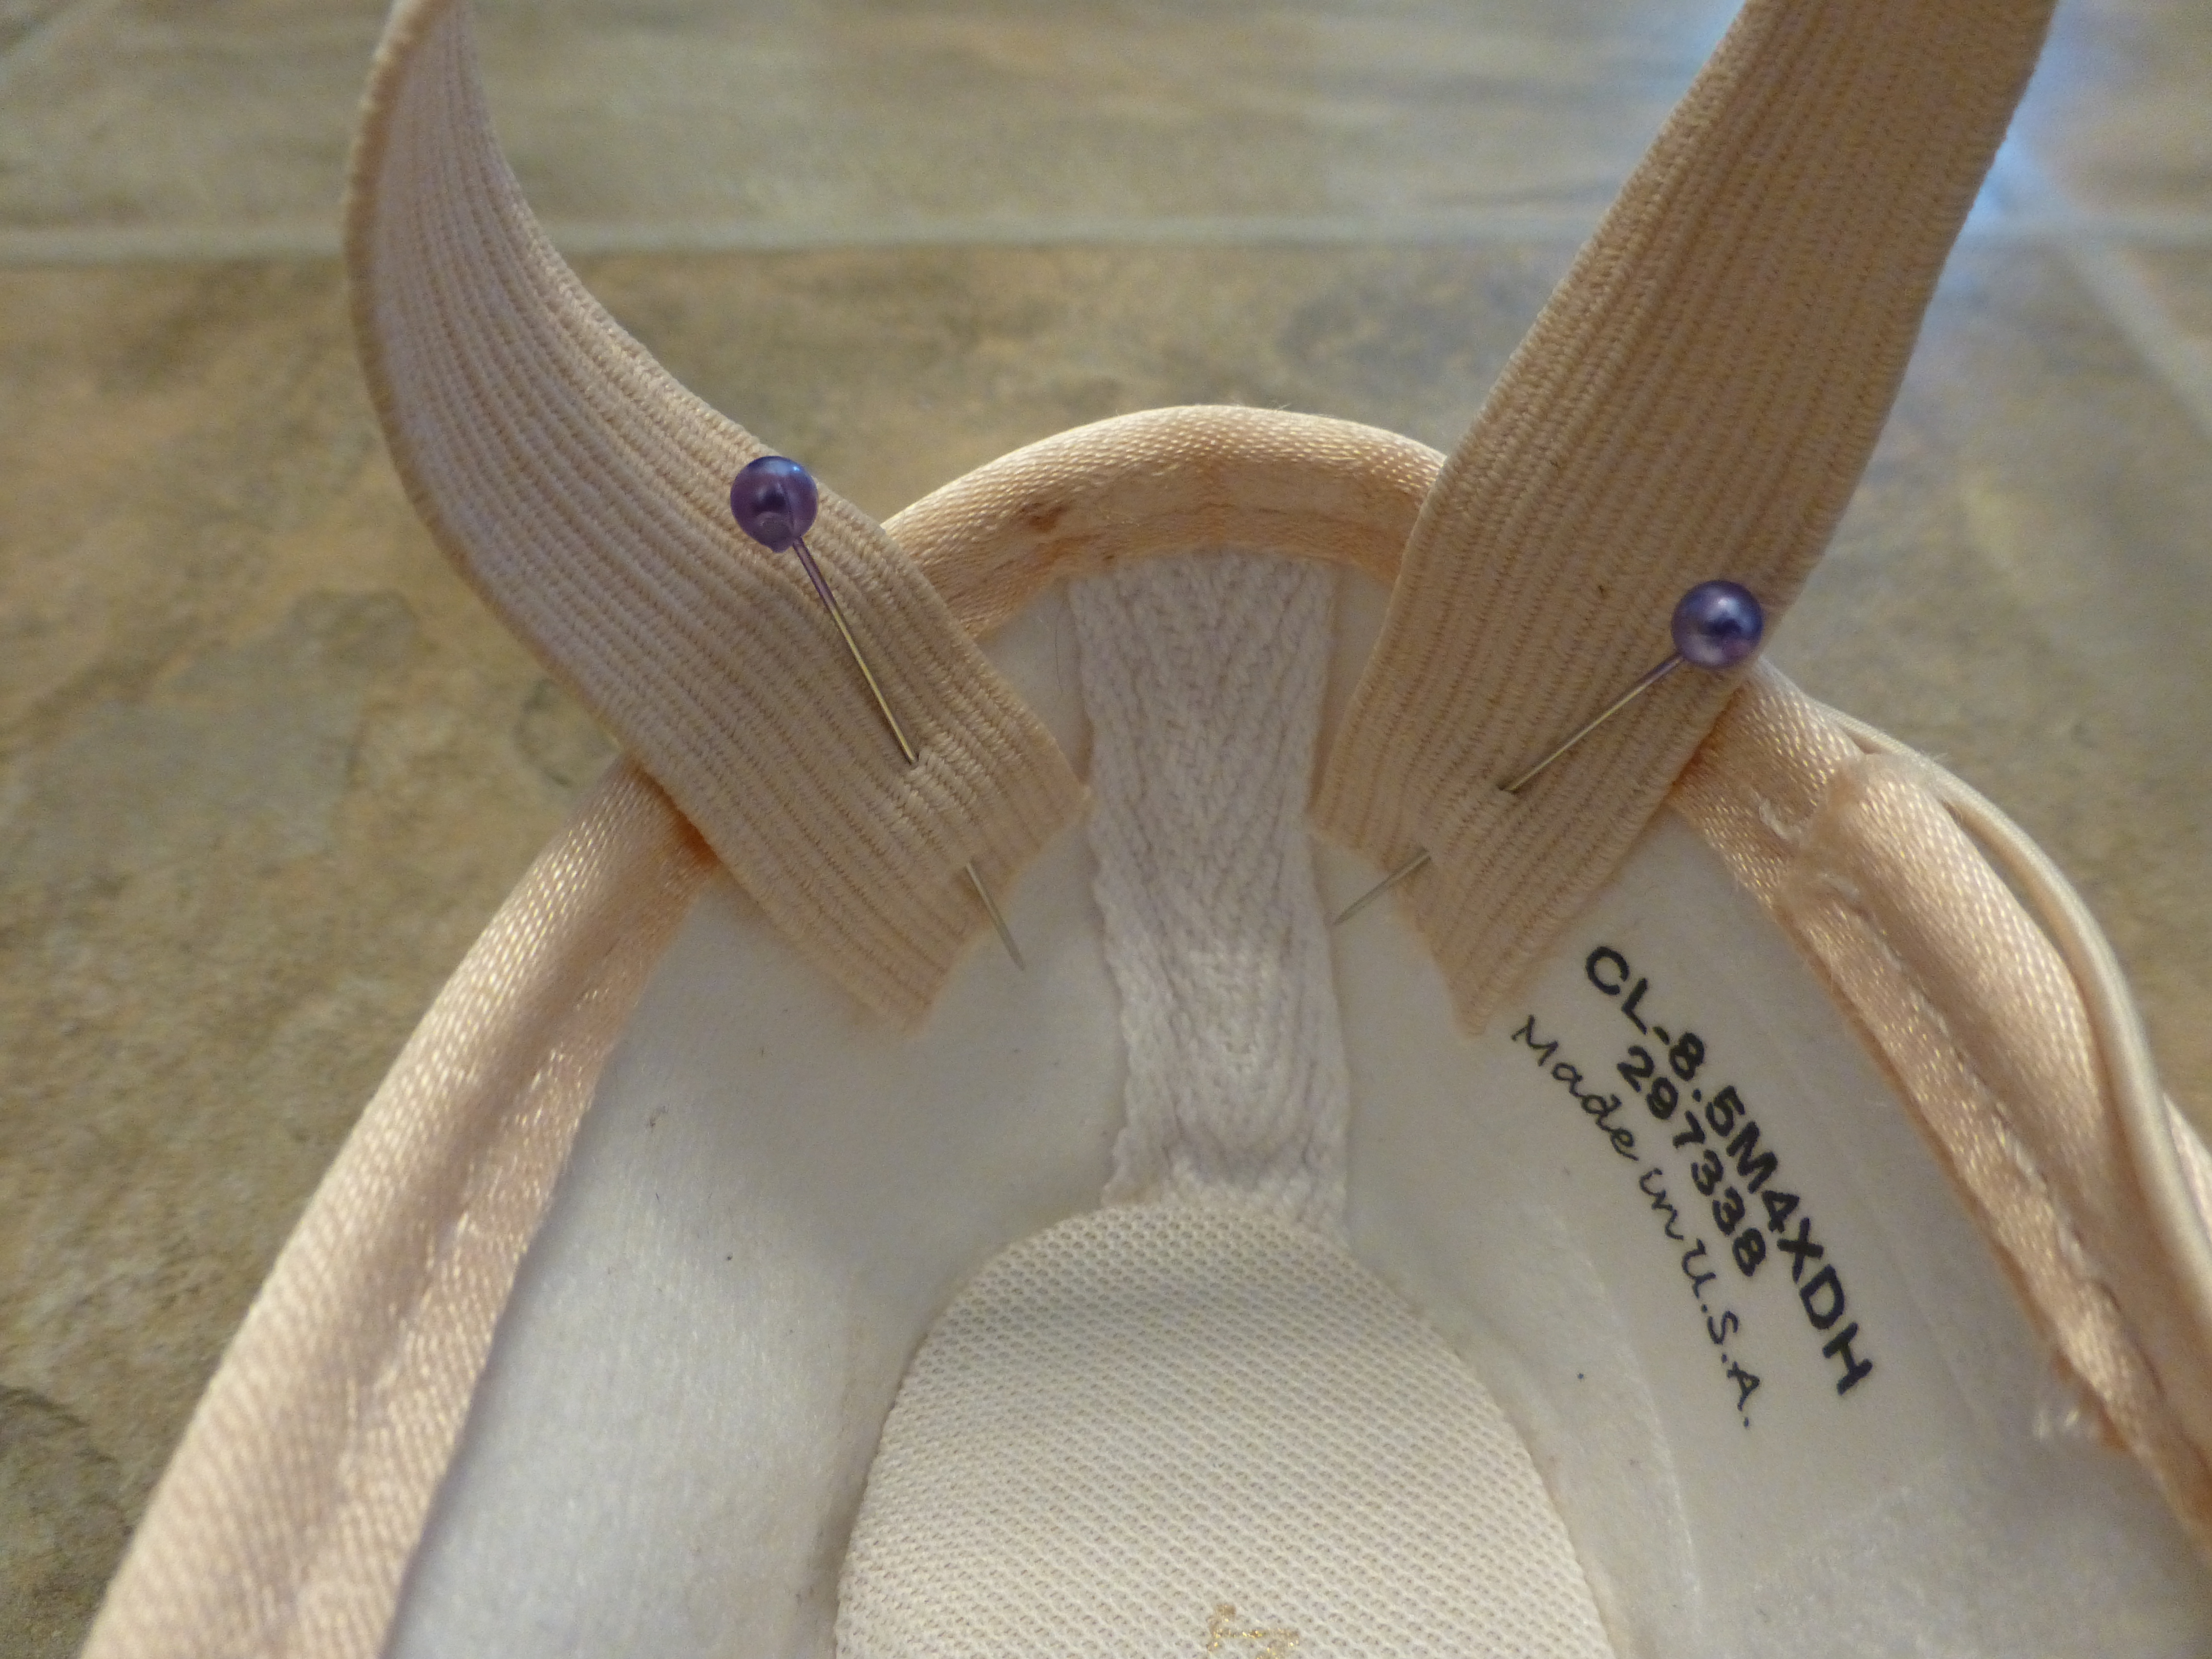
Ribbons
Notice that your ribbons have a shiny side and a dull side. It’s up to you (or your studio’s requirements) which side goes out. I personally prefer the dull side out because it blends better with your tights. The pictures below demonstrate sewing the dull side out, so just reverse it if you want to sew them the other way.
Cut the Ribbon
Cut your ribbon into four equal lengths by folding it in half, then in half again.

Place and Pin
Fold the heel of the shoe flat, as shown. The point where the corners fold should be approximately where your ribbon is.

Make a fold in the ribbon about an inch long, dull-side-to-dull-side (or the other way if you want the shiny side out). Make sure the ribbon is angled straight up, with the folded end tucked in, and pin it in place. Do the same for the other side.
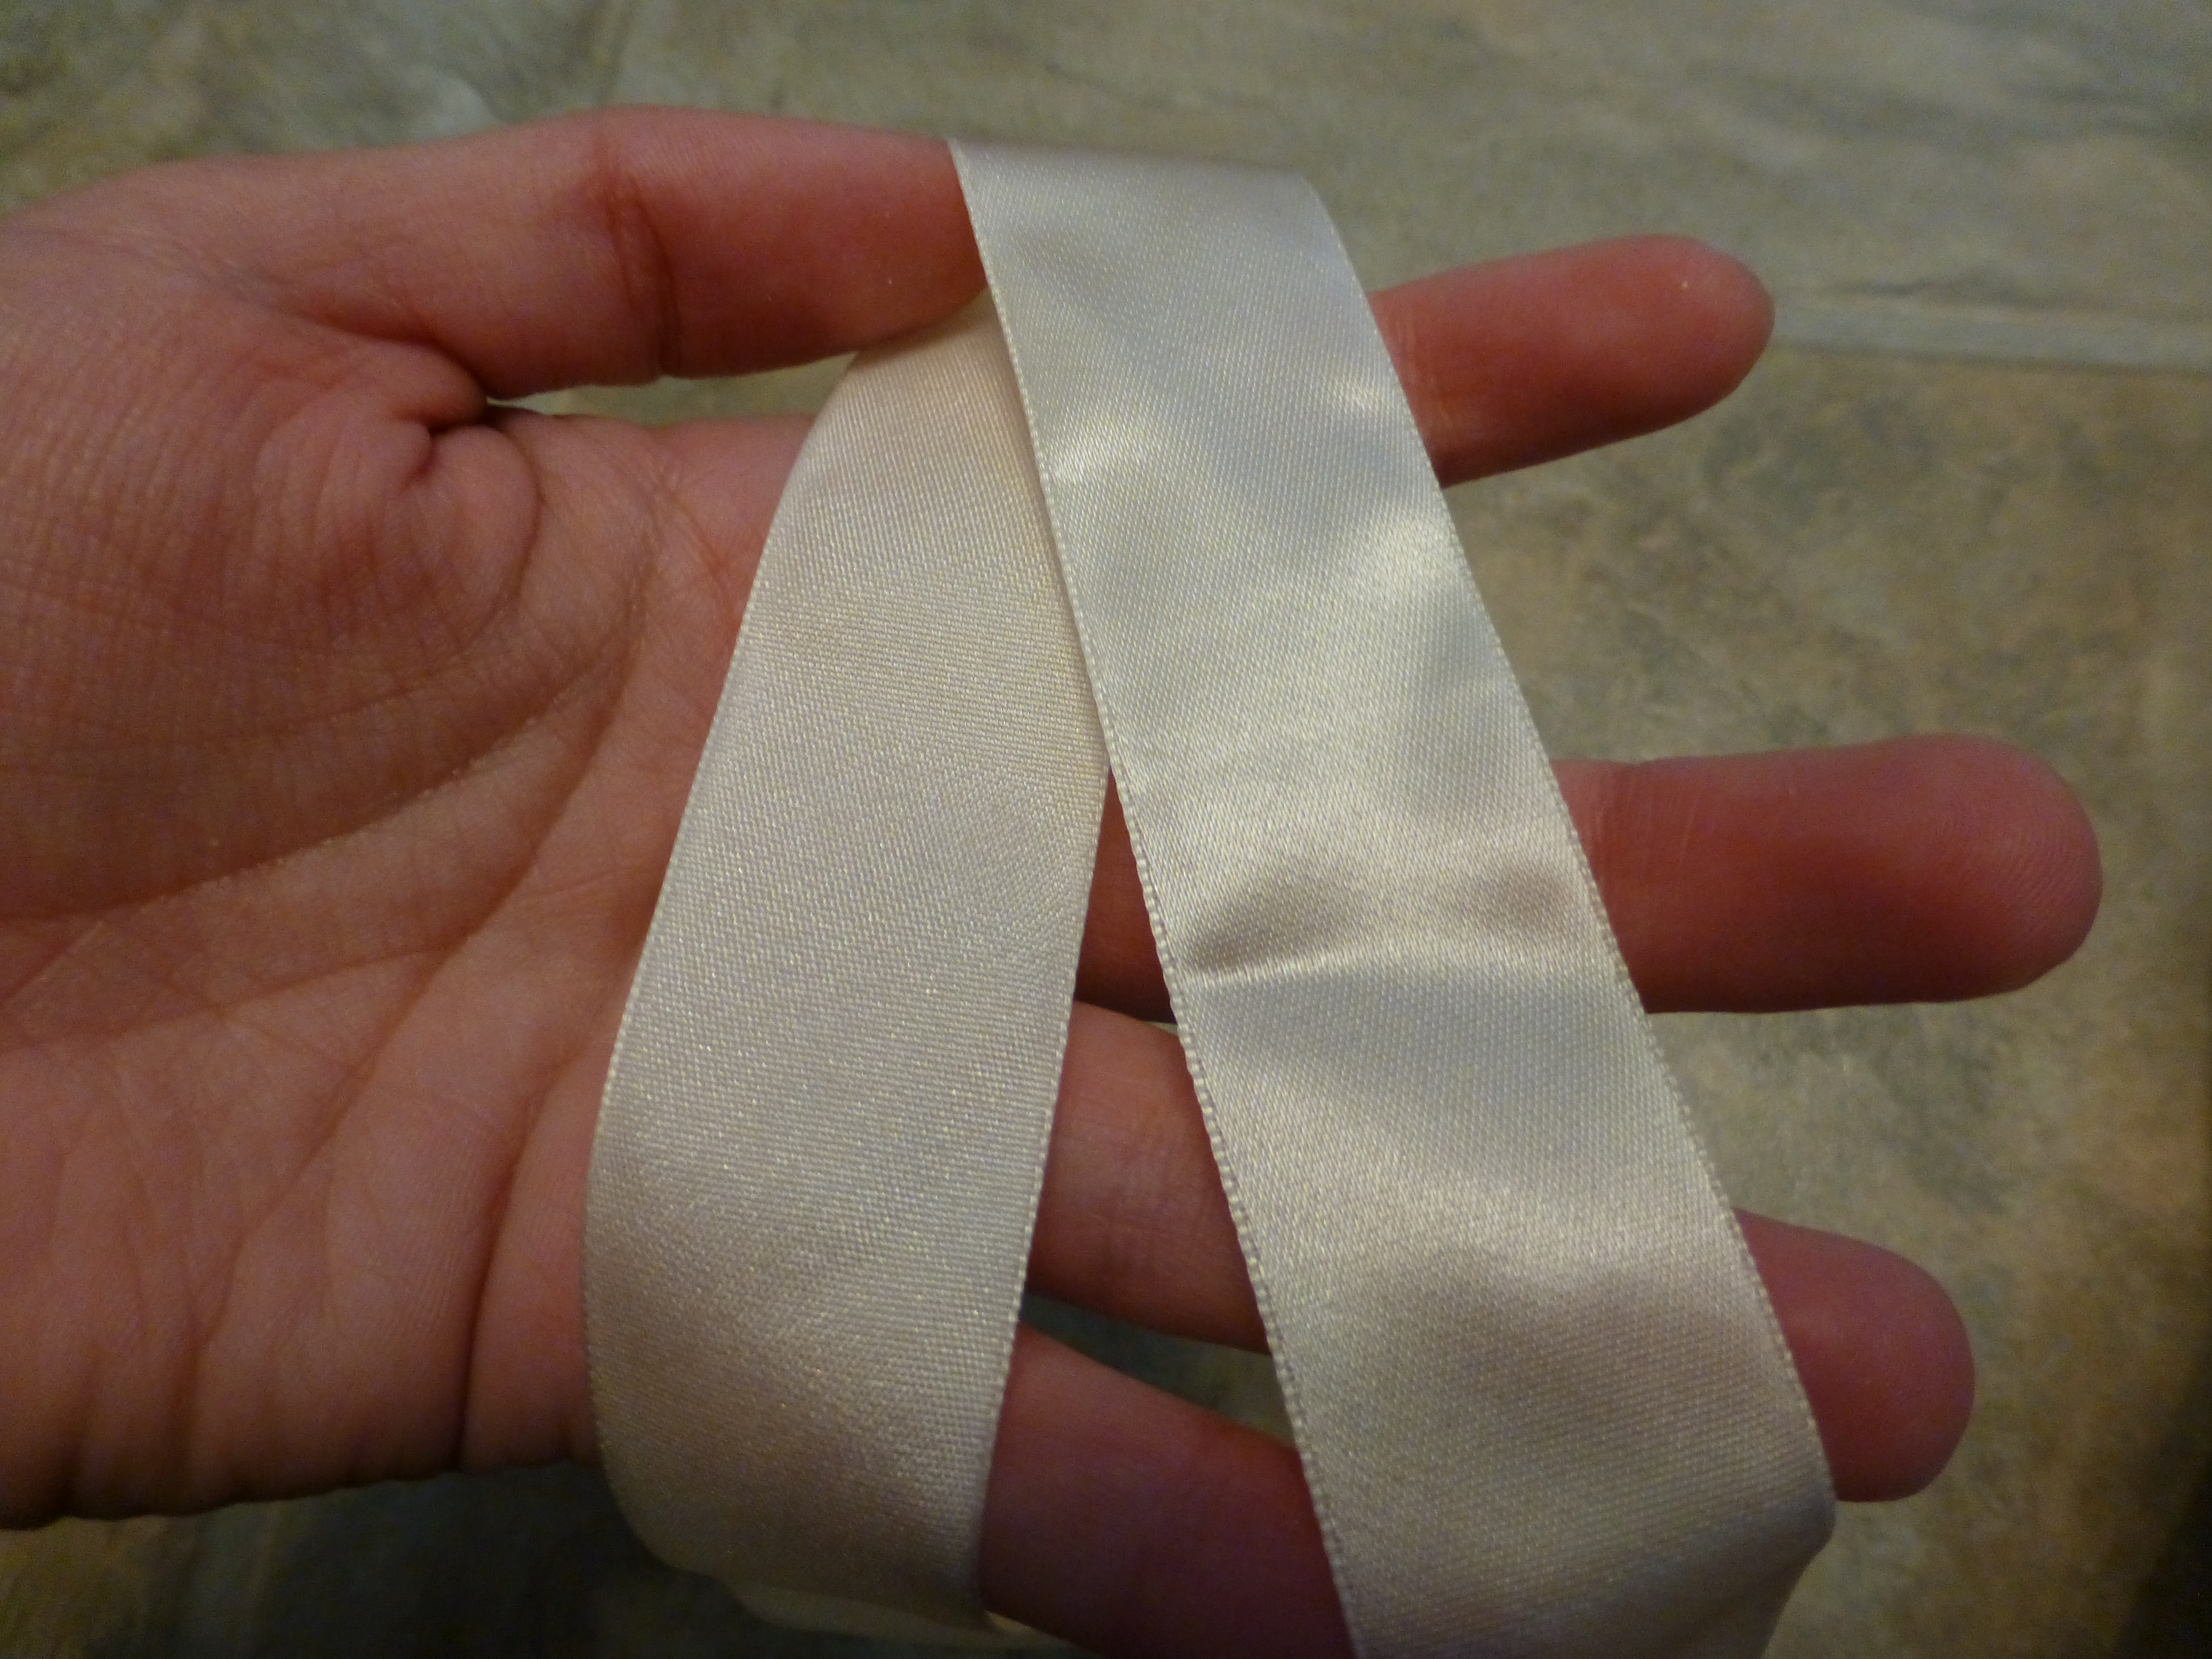


Sewing
Now everything’s pinned and ready to go. Thread your needle and pick an attachment to start sewing. Sewing on the inside and the outside are almost the same, but with some important differences. Make sure to read both sets of instructions!
Turn the Heel Inside-Out
Sewing a pointe shoe is so much easier when you turn the heel inside out, as shown below. It gives your fingers more room to move, and lets you see more easily.

Slip Stitch and Running Stitch
Poke your needle through the lining of the shoe and the ribbon, as shown. Make sure to only go through the lining, not the satin on the outside.
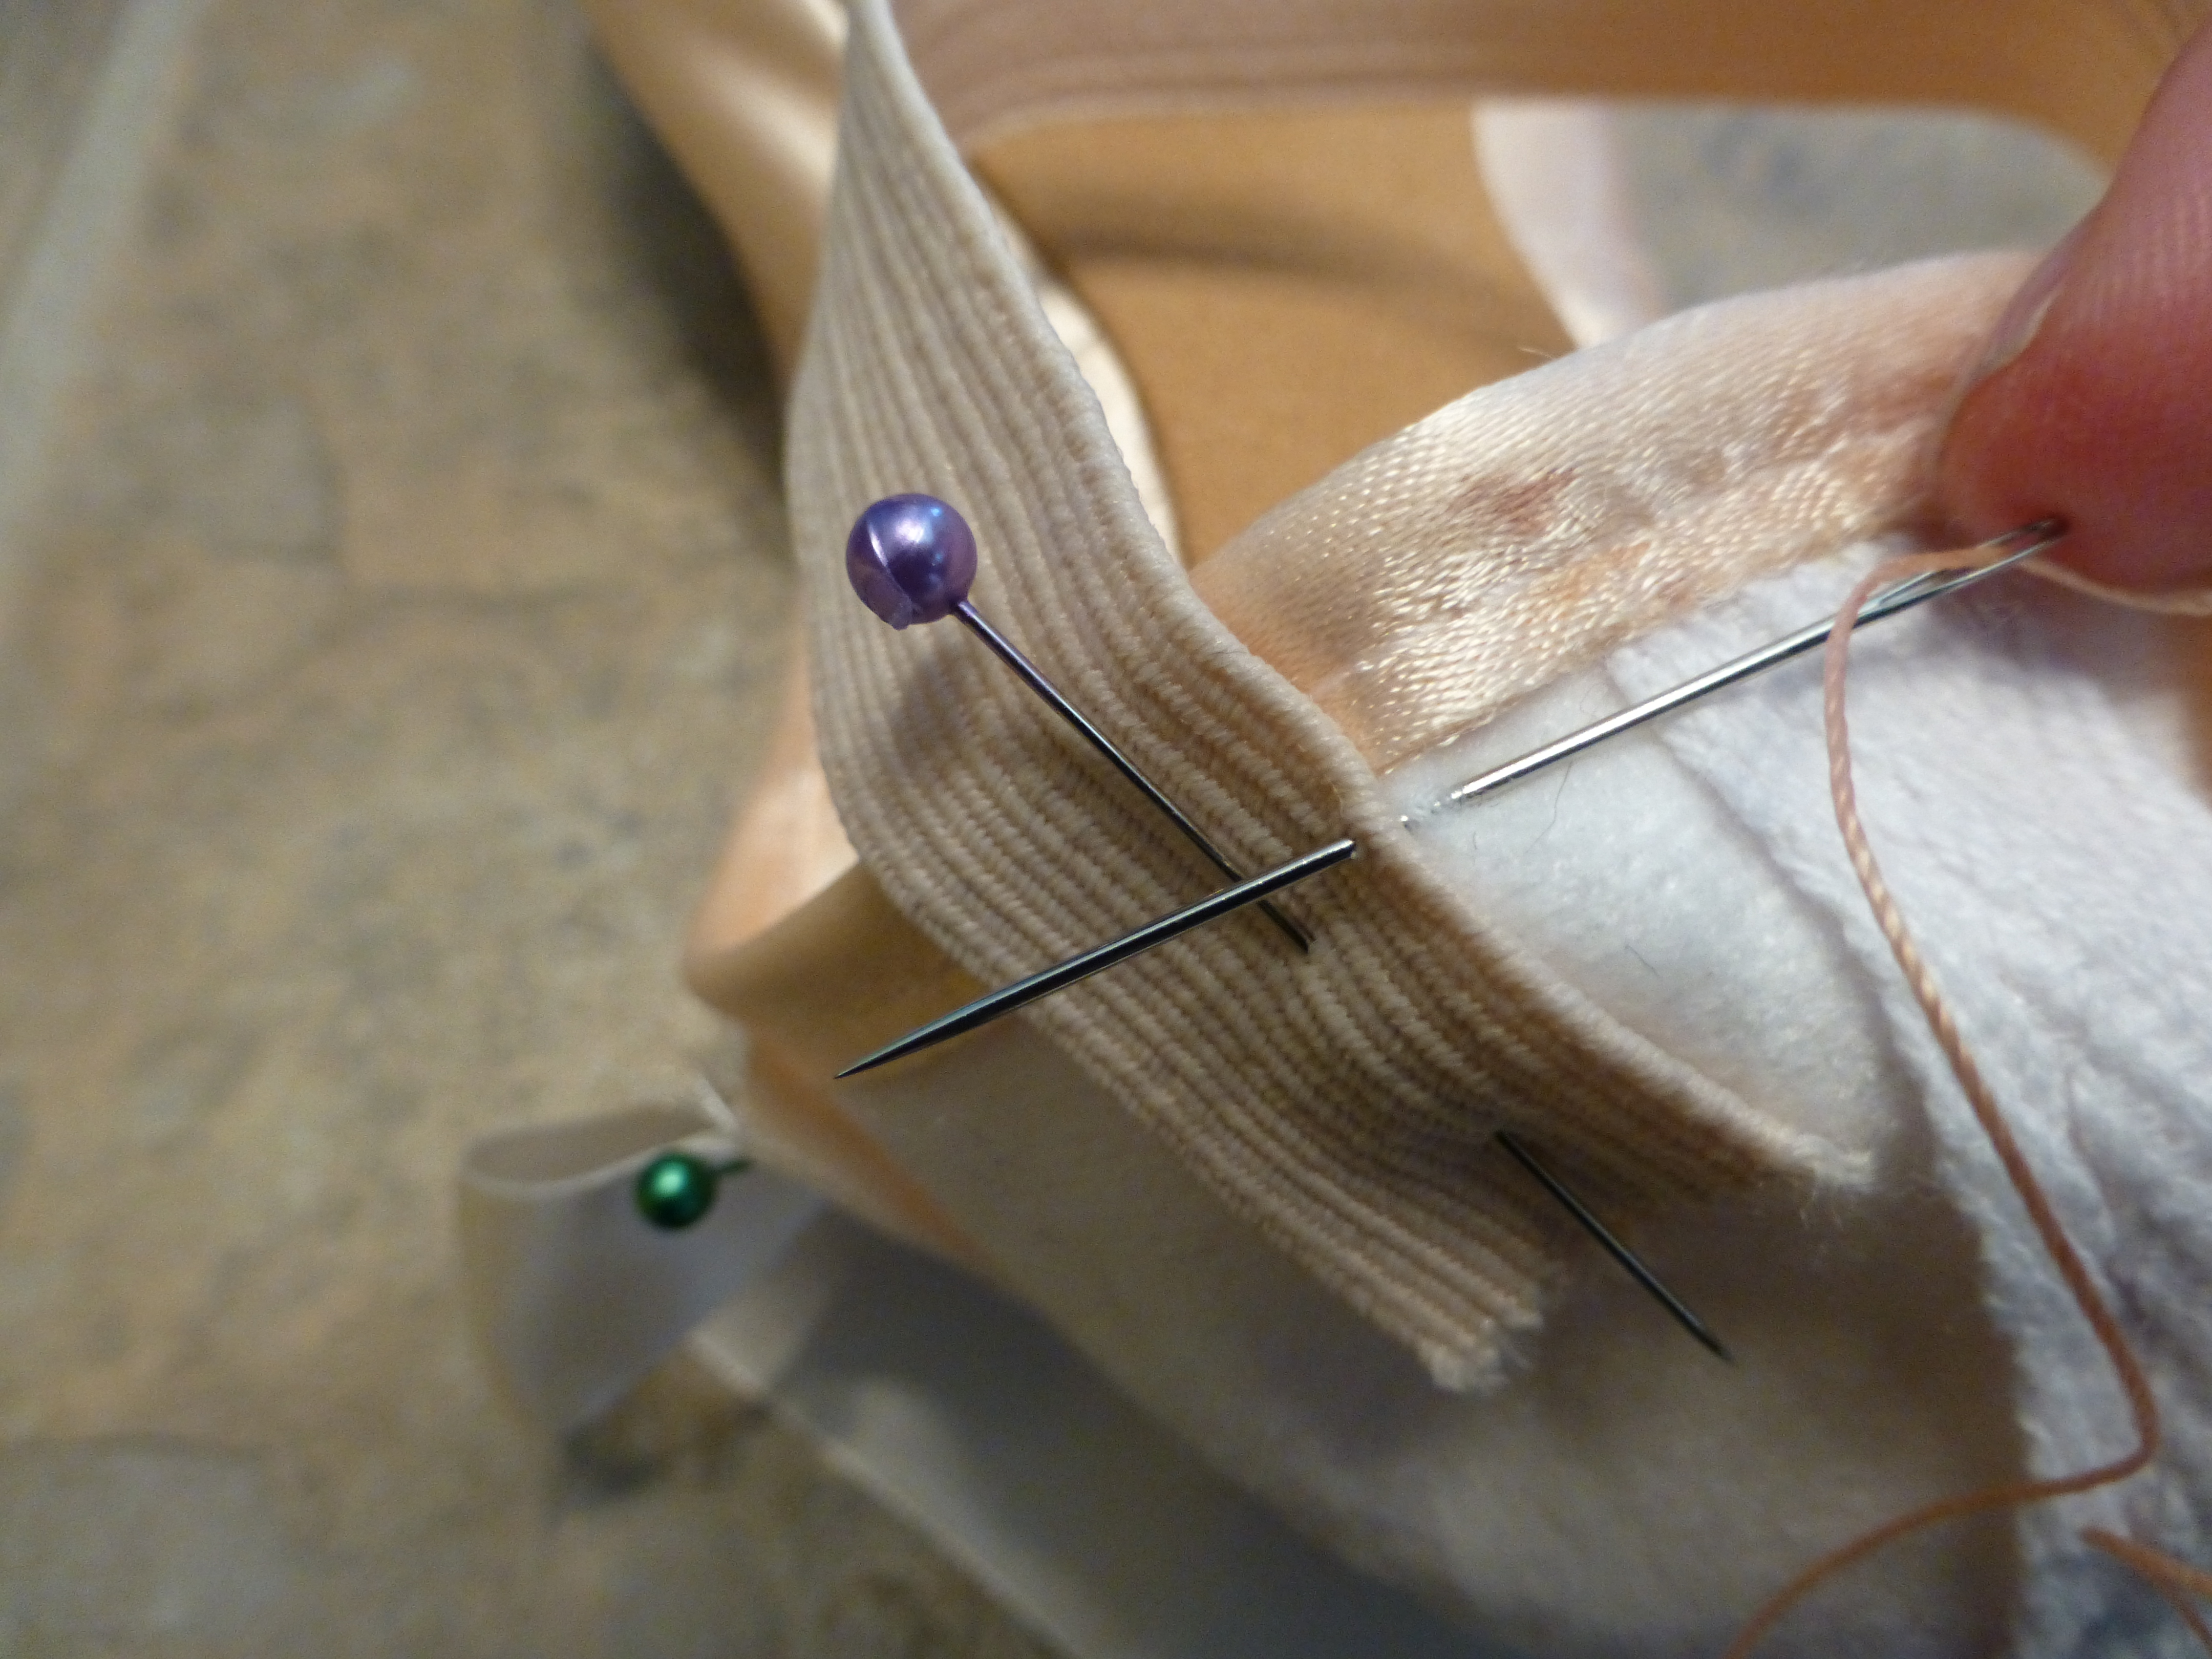
Pull the needle through and give it a little tug to make sure the knot is sturdy. Then repeat that same stitch, checking periodically to make sure you haven’t gone through to the satin. (If you’re left-handed, start on the other side of the elastic.)
Try to catch the tail of your knot in the loops that you make. This will give you a nice, clean finish without dangling ends.

Continue down the side.

For the bottom edge you can’t do a slip stitch because the end will fray. You’ll have to do a running stitch just above the bottom edge.Bring the needle up and down through the fabric, making tiny stitches as shown below. When you get to the end, bring the needle one last time into the inside of the shoe.

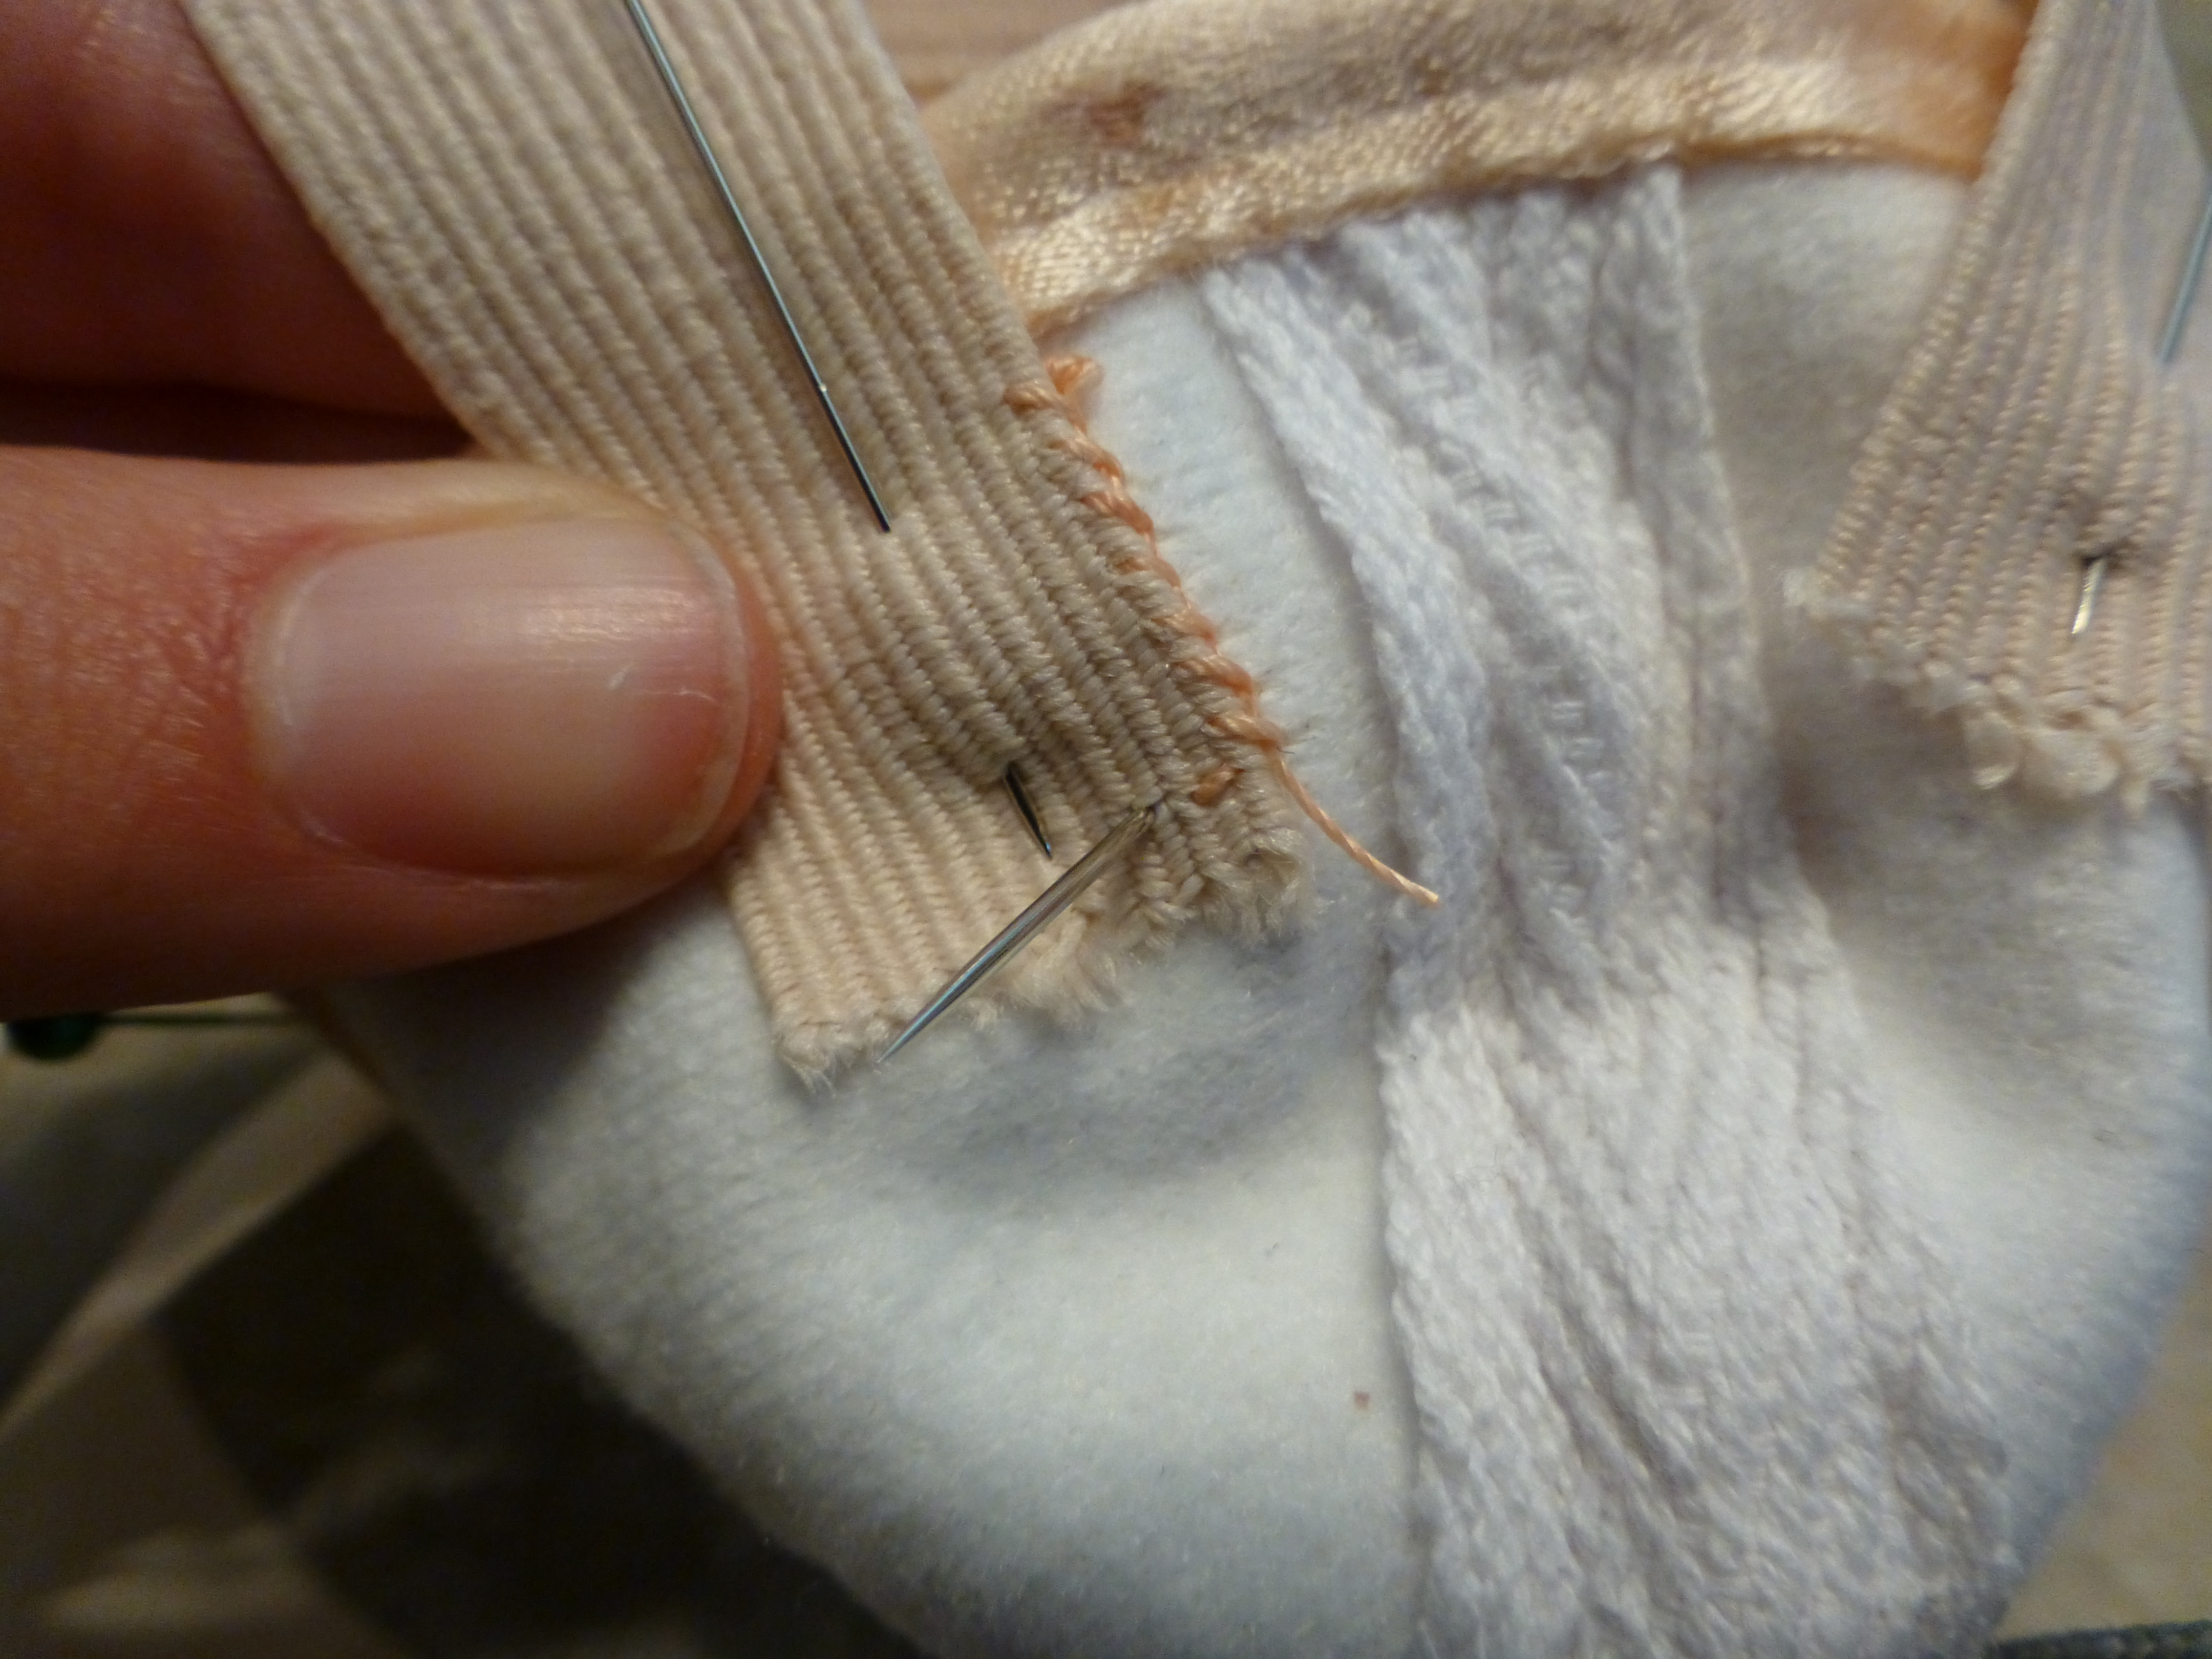
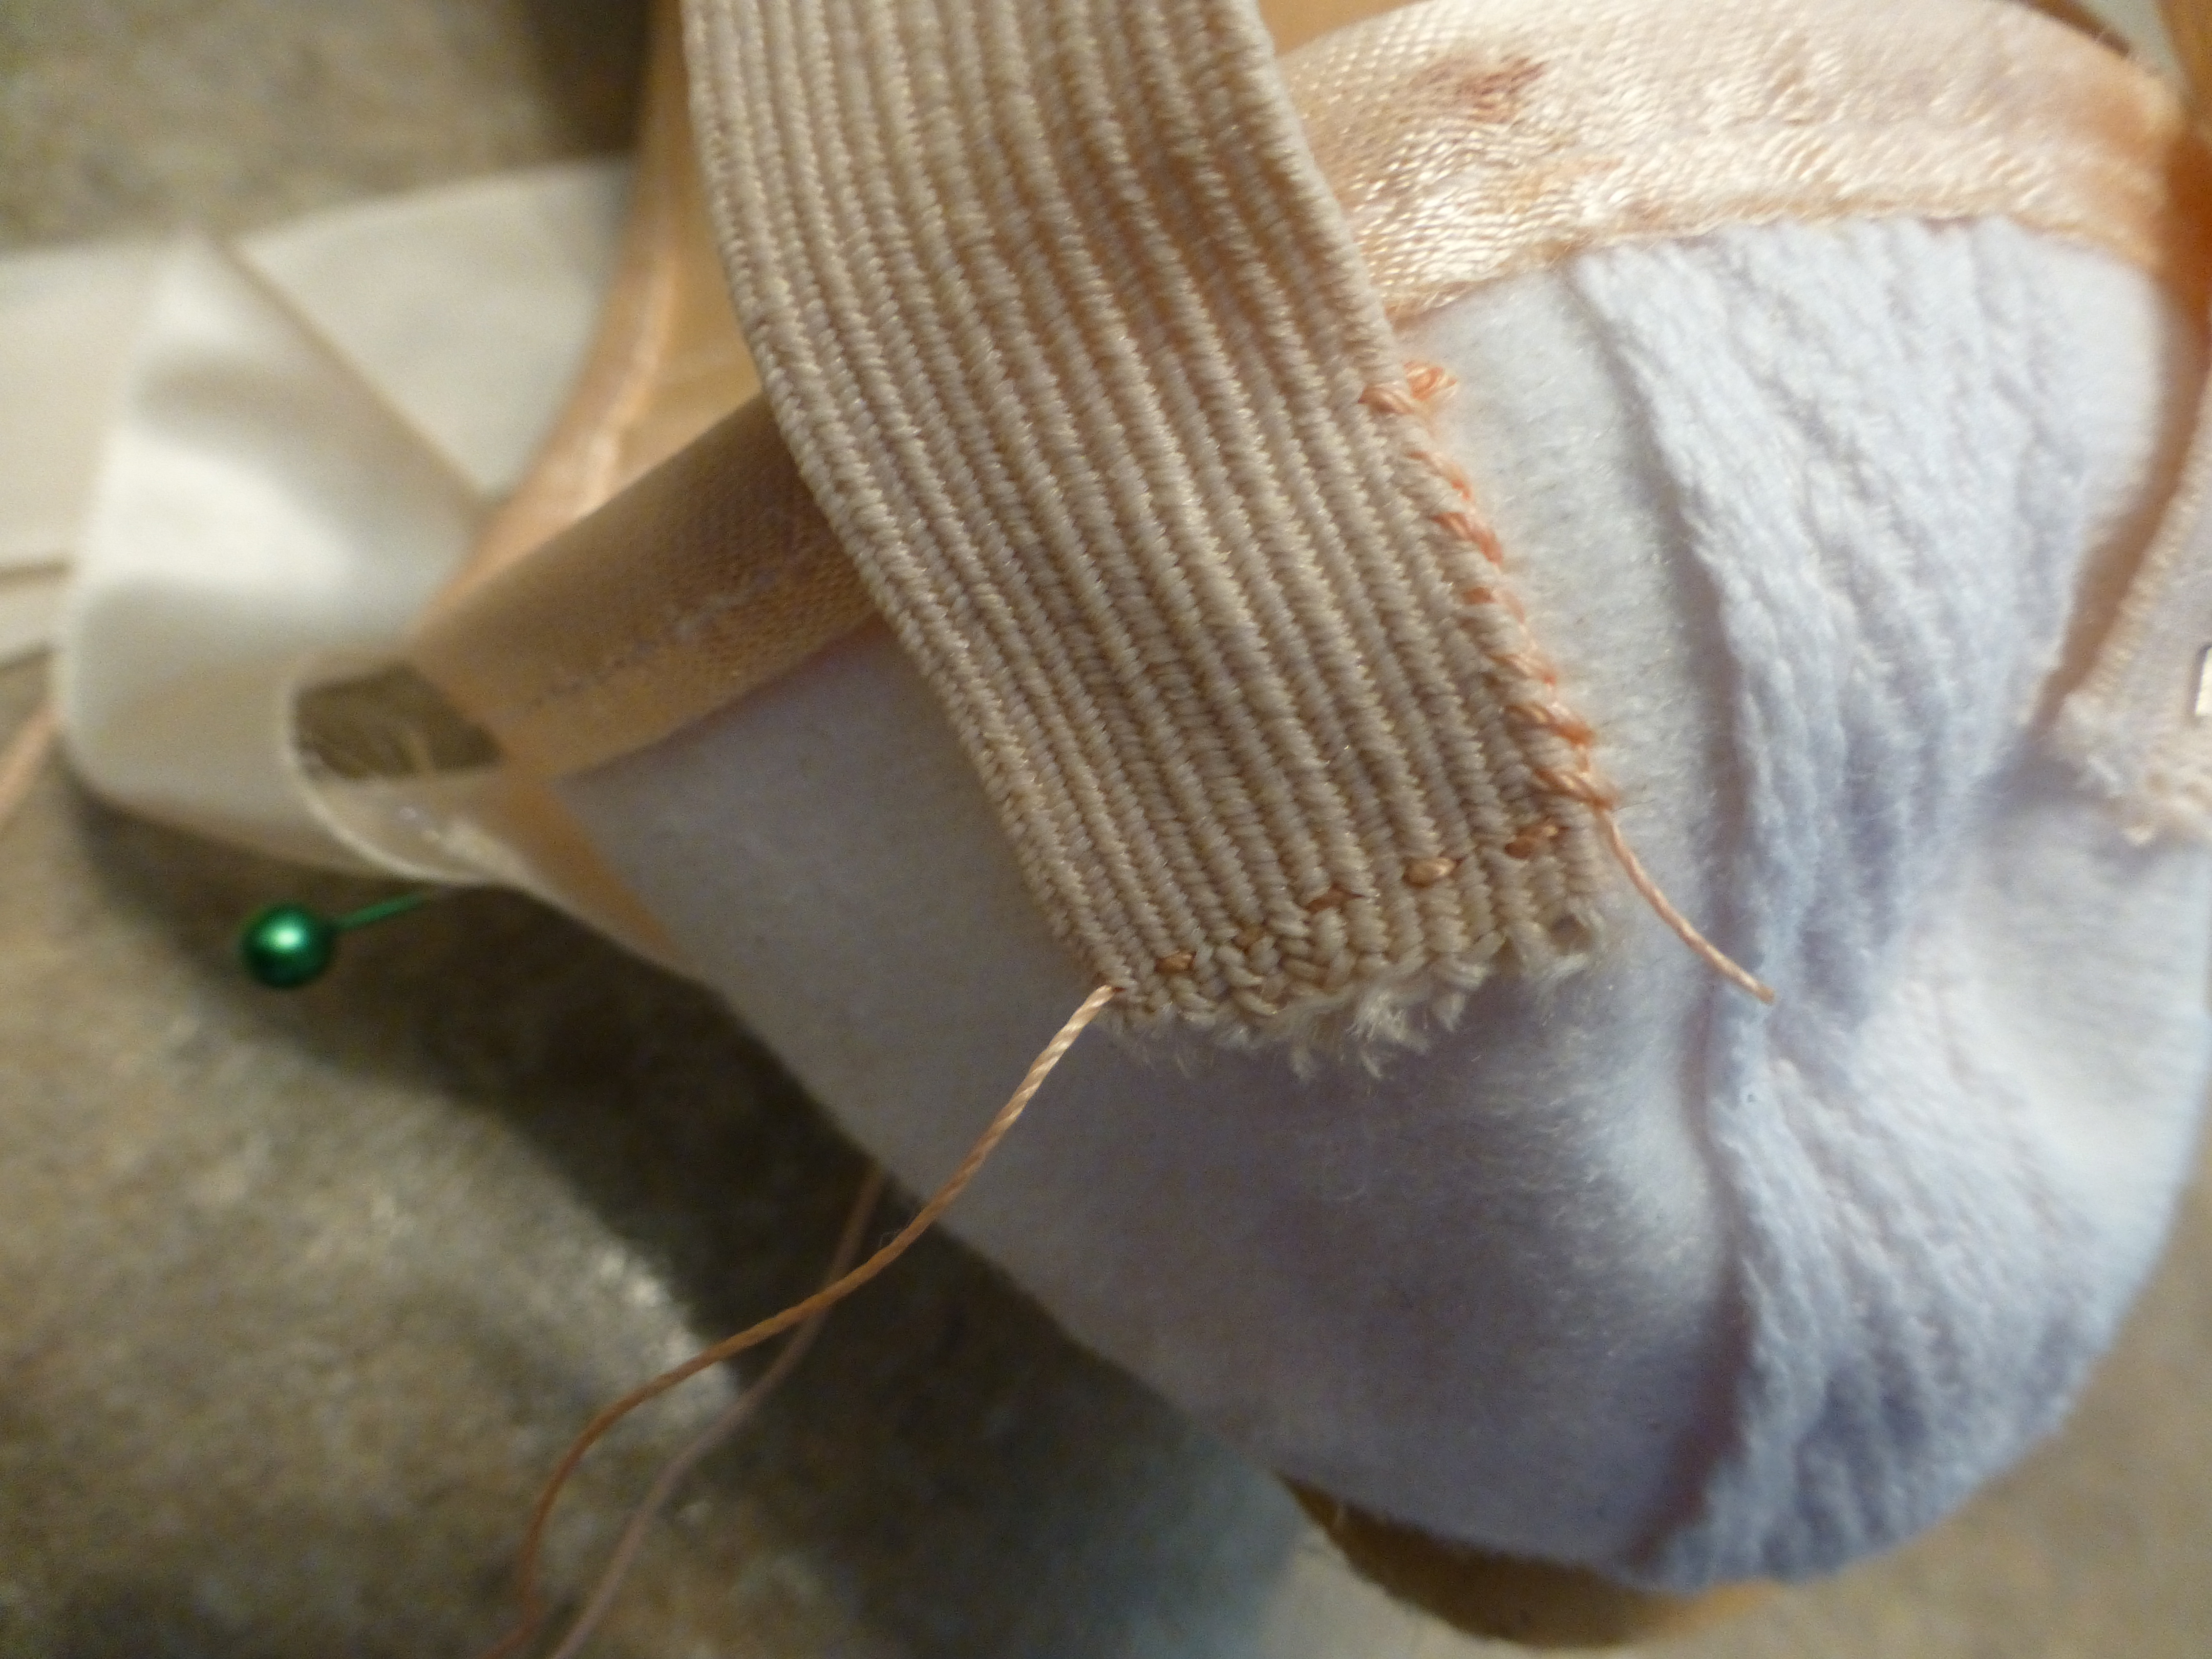
Turn the shoe over to slip stitch up the other side of the elastic, then do a running stitch across the top, just below the drawstring band. When you’re done, make at least a triple knot and guide the knot as close to the fabric as possible. Then slip the needle under a few stitches and pull through to secure the tail. Cut the thread with your scissors.

Here’s the finished elastic, what it looks like on the inside and the outside. Notice that because we didn’t go through the satin on the slip stitch, the running stitch is all we can see.


Ribbons
Sew the ribbons the same way you did the elastics, except this time you can slip stitch all the way around the first three edges. You only need to do a running stitch across the top. (That’s why we folded the ribbon before we pinned it, to create that smooth edge.) Here’s a picture of the sewn ribbon for reference.

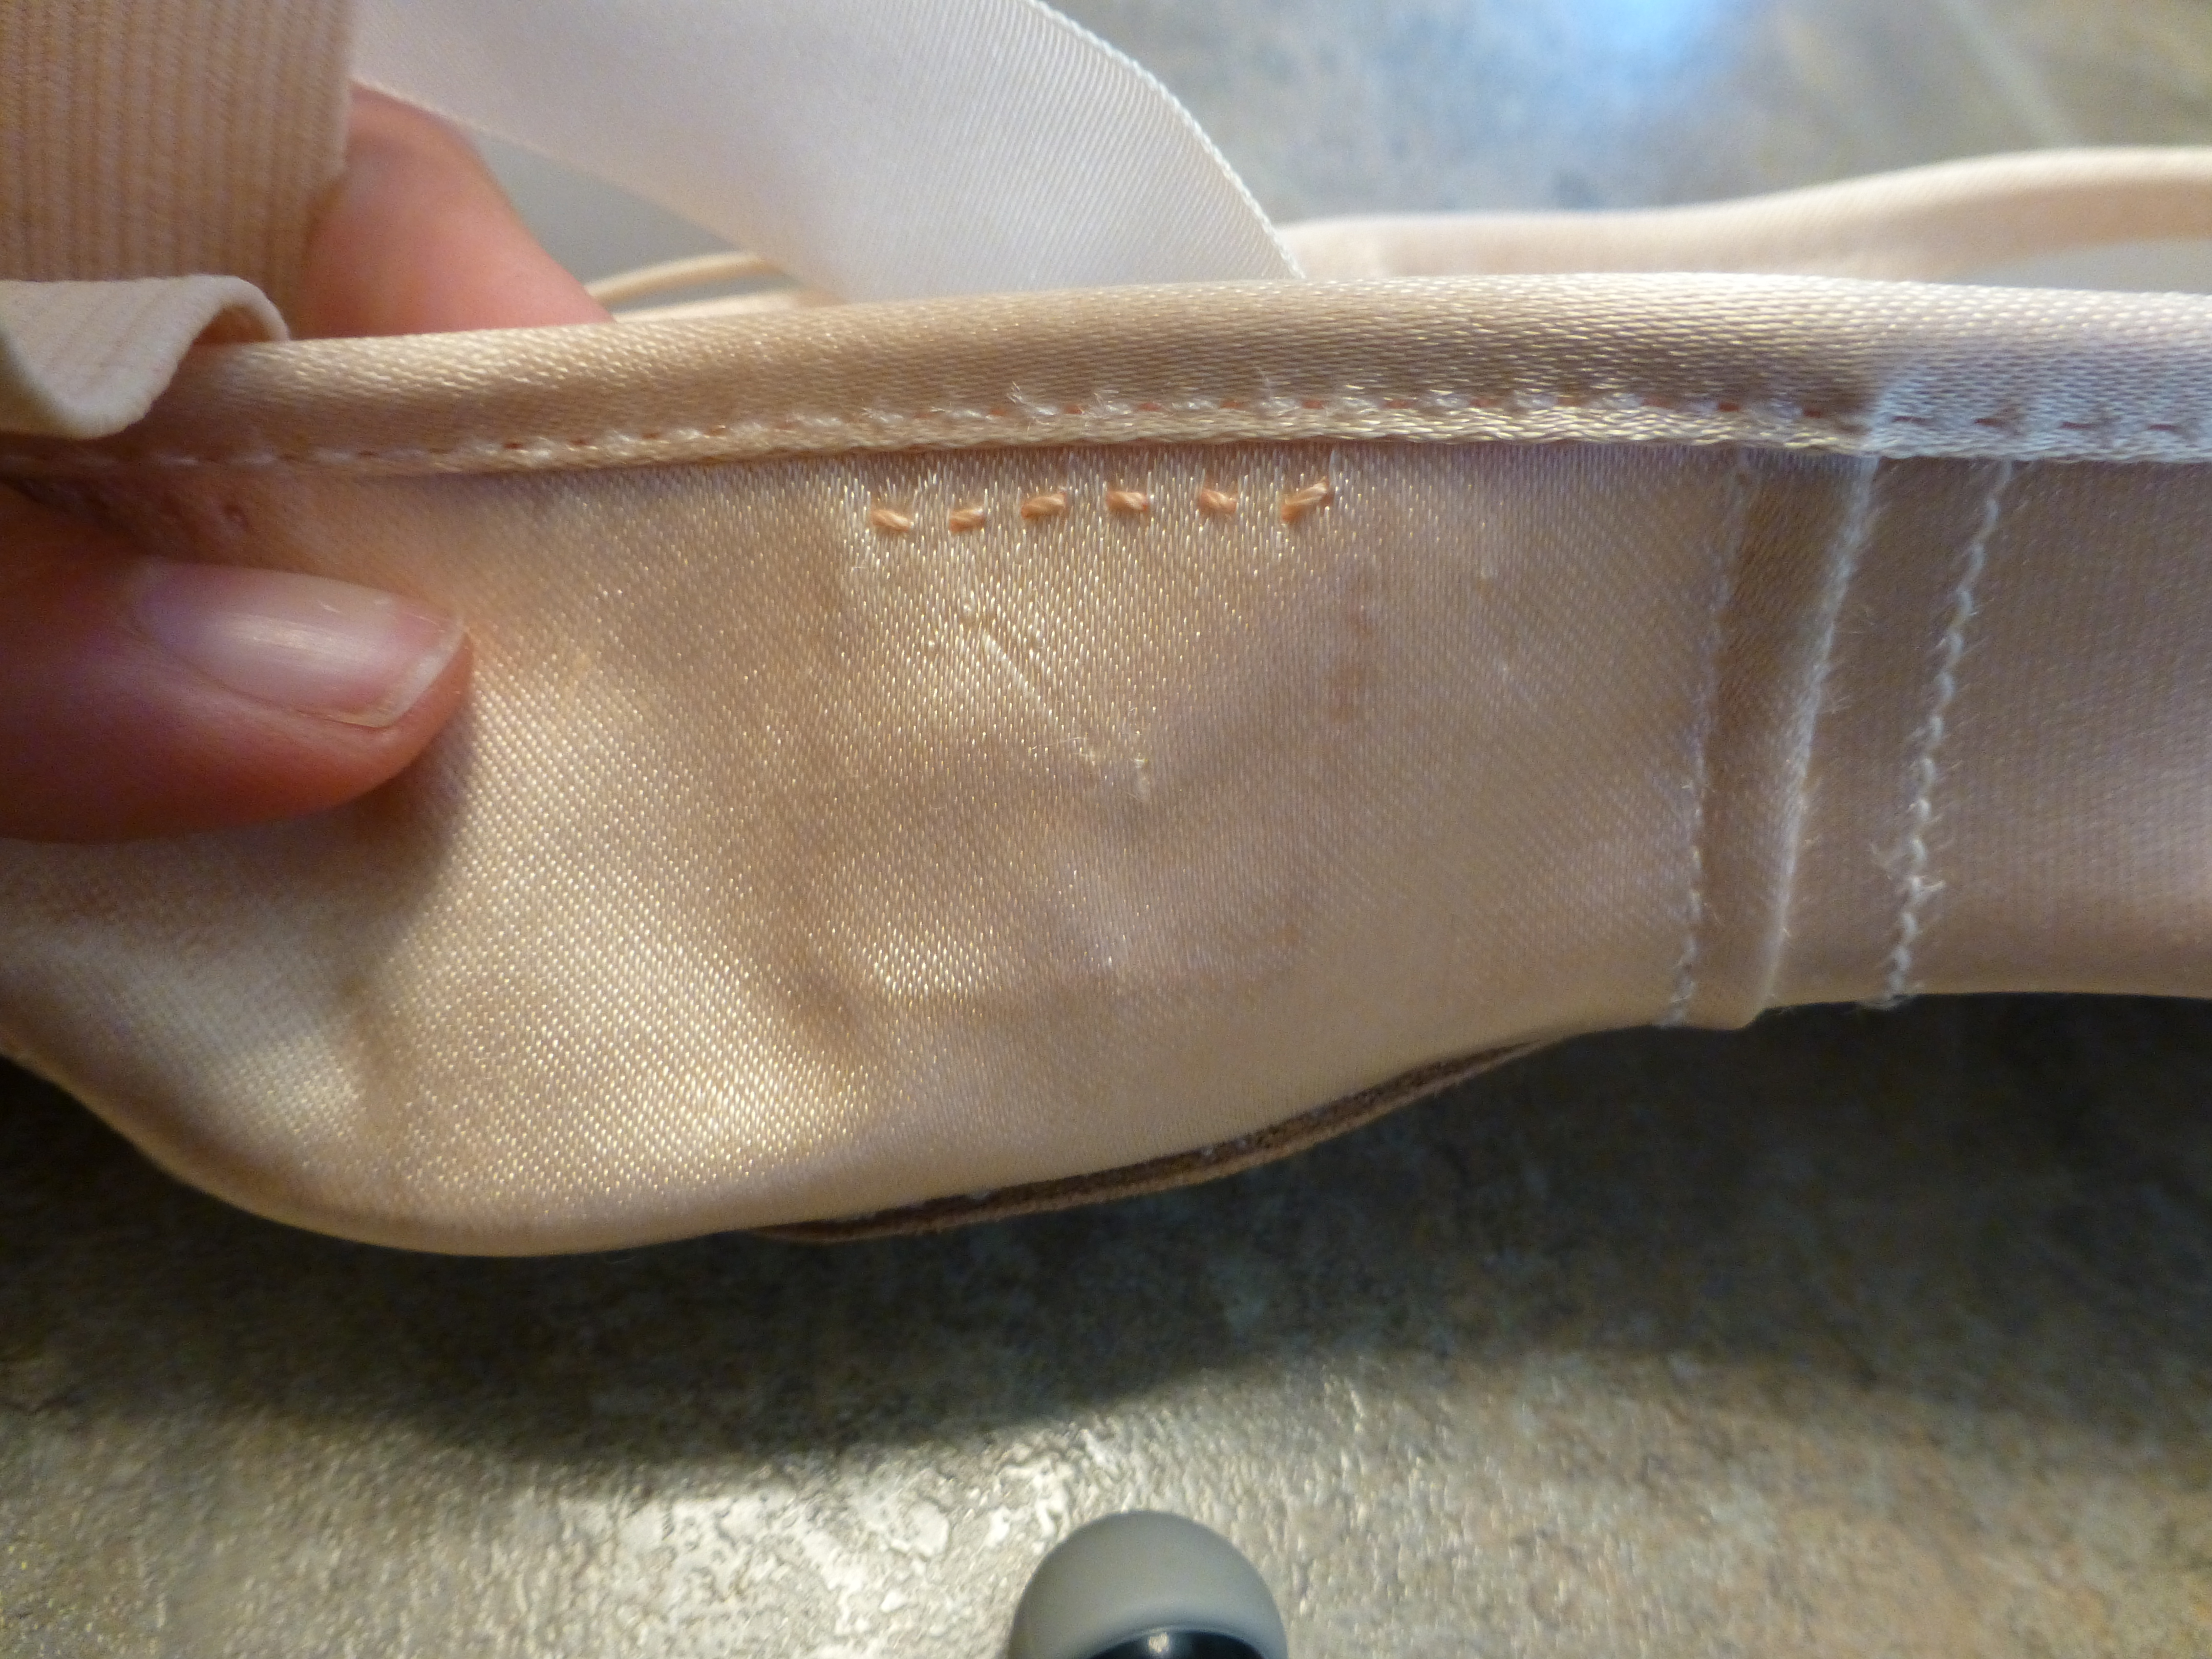
Congrats, you’ve learned how to sew pointe shoes! Try on your beautiful new shoe and make sure it moves with your foot the way you expected. Specifically, make sure you can go onto demi-pointe without the heel sliding off.
Stay tuned for an upcoming post about how to wrap, trim, and burn your pointe shoe ribbons!


